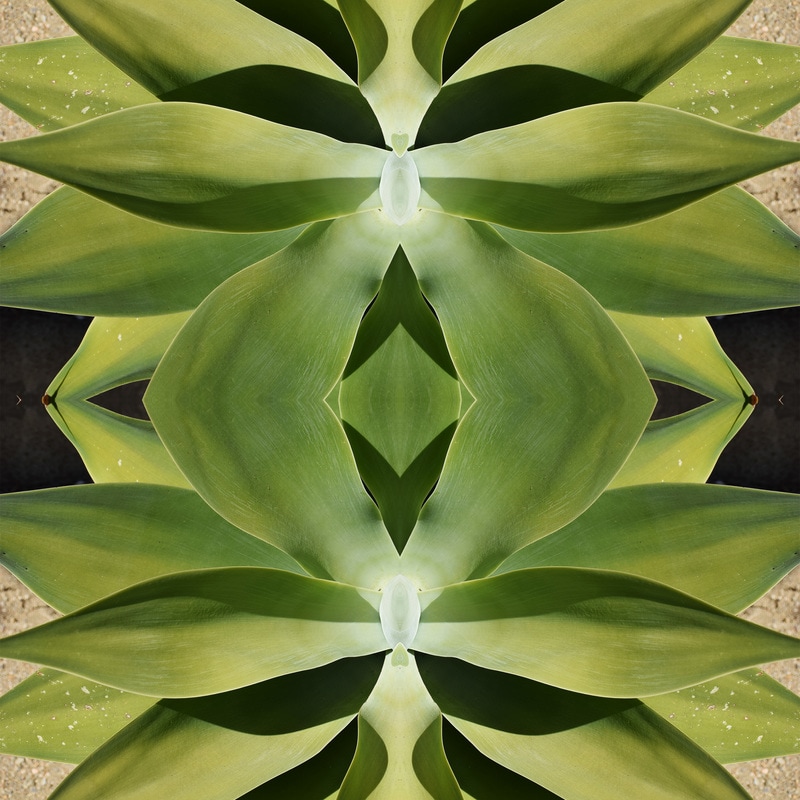
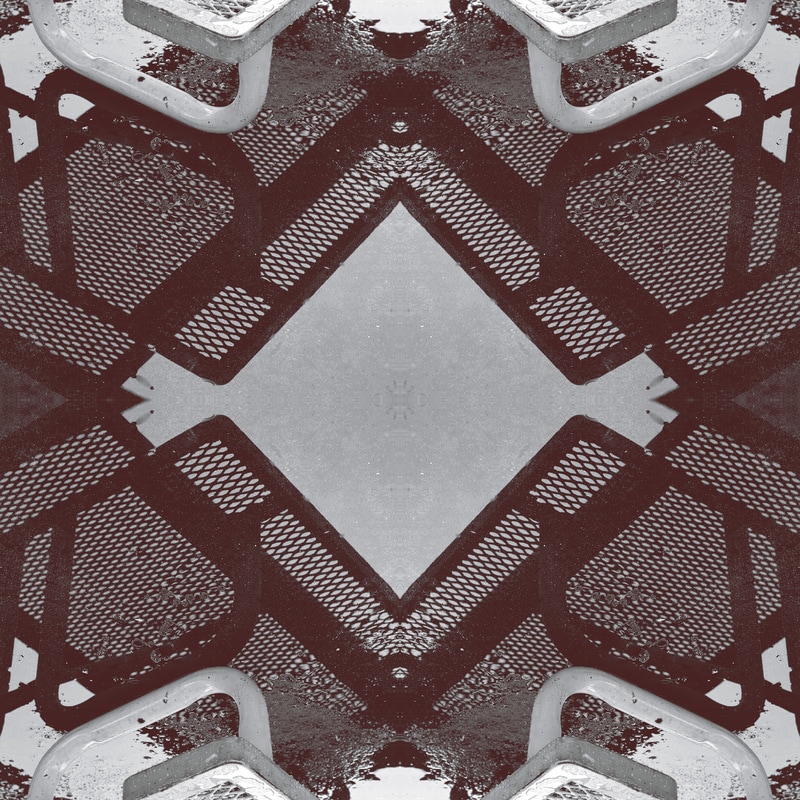
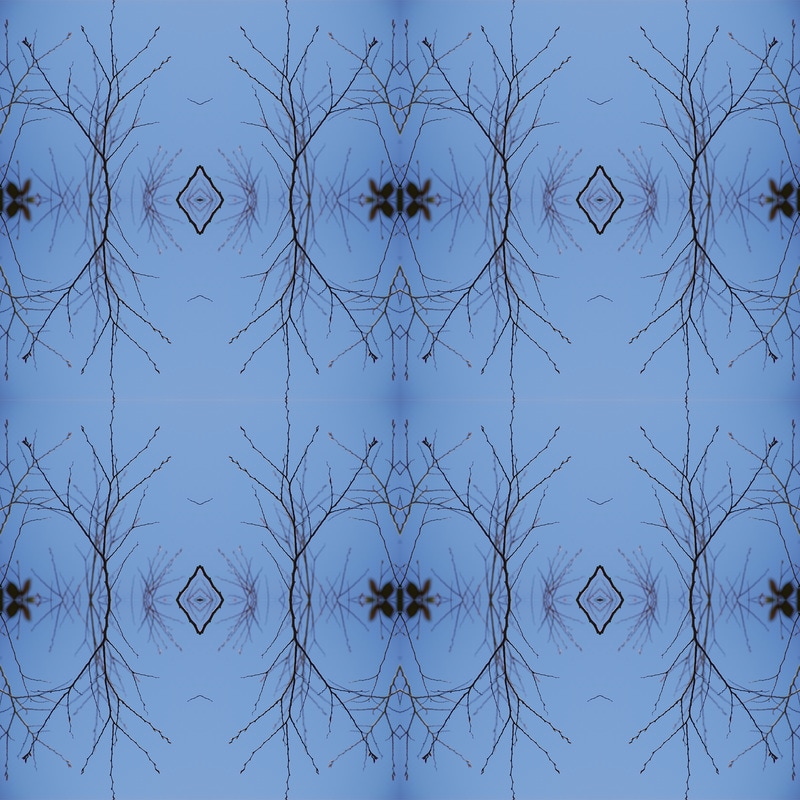
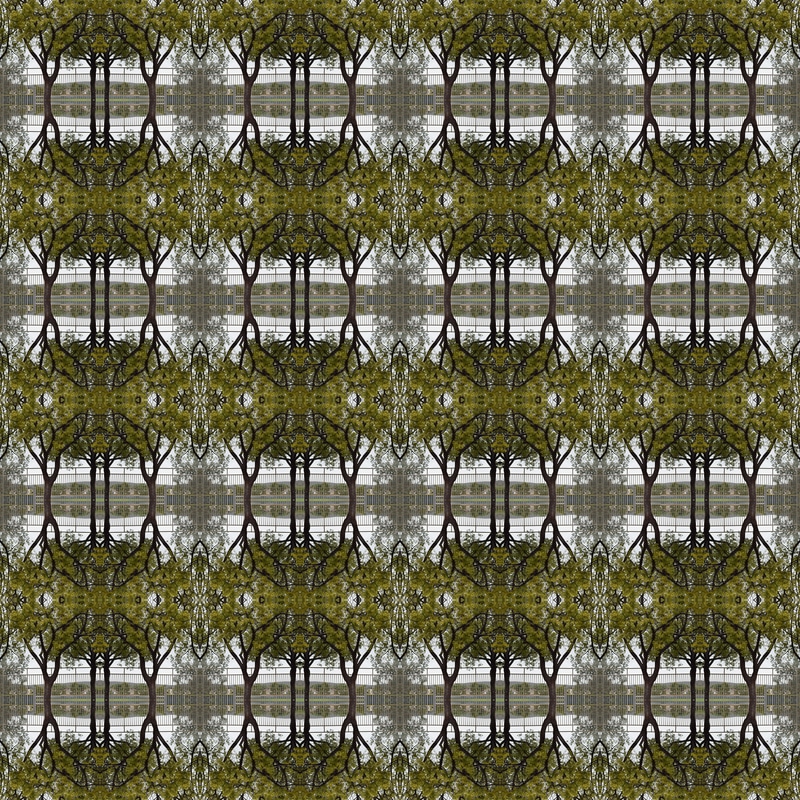
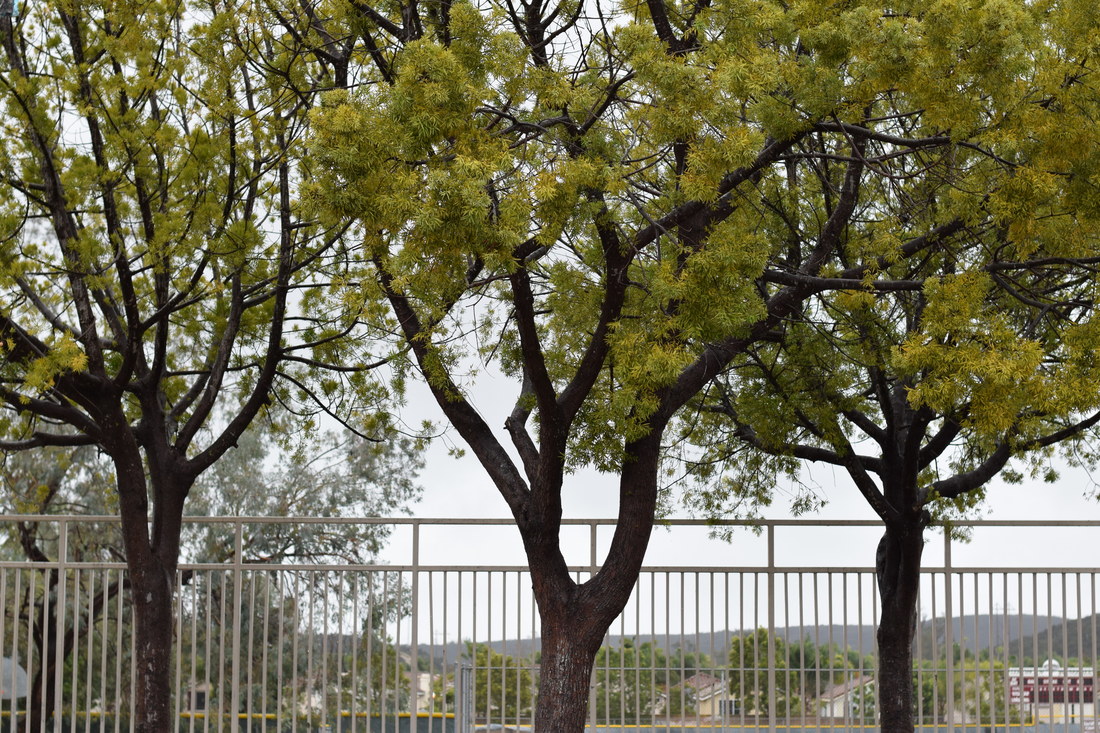
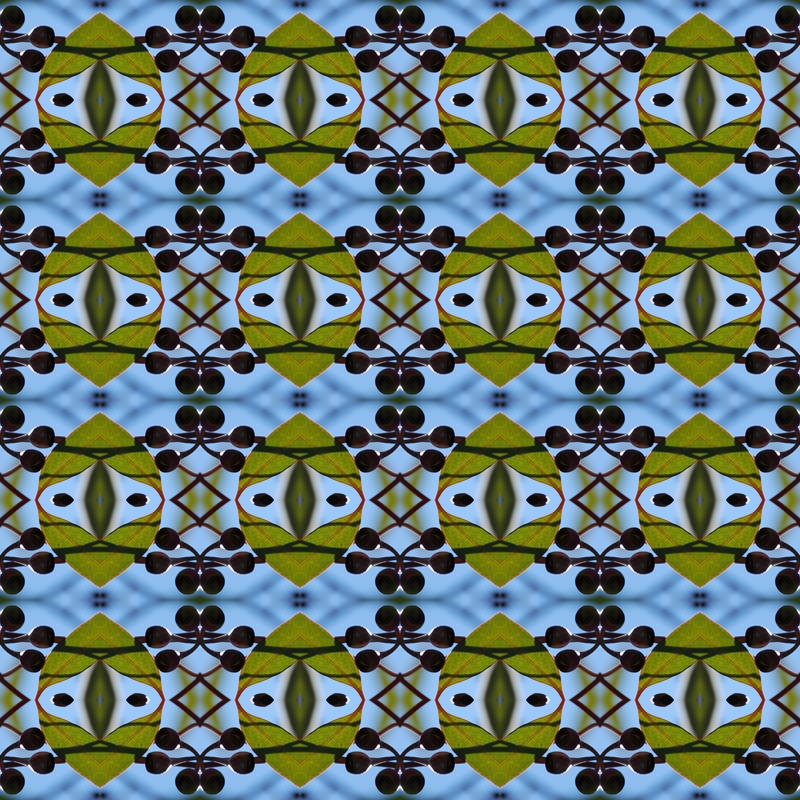
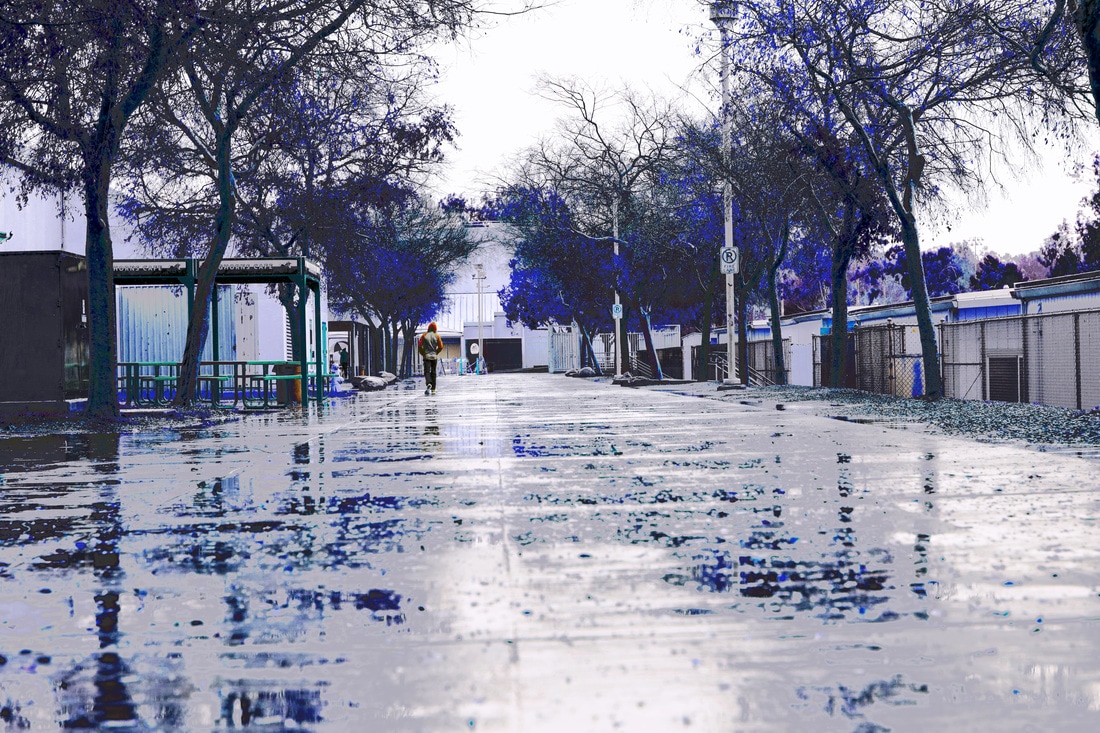
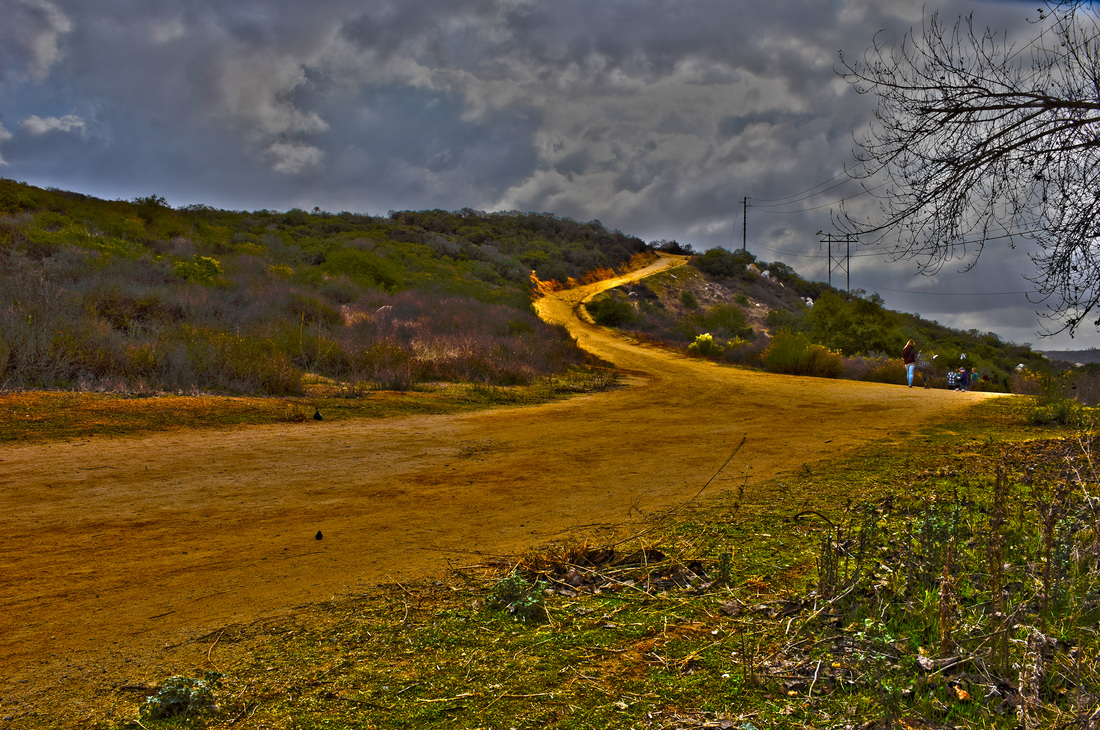
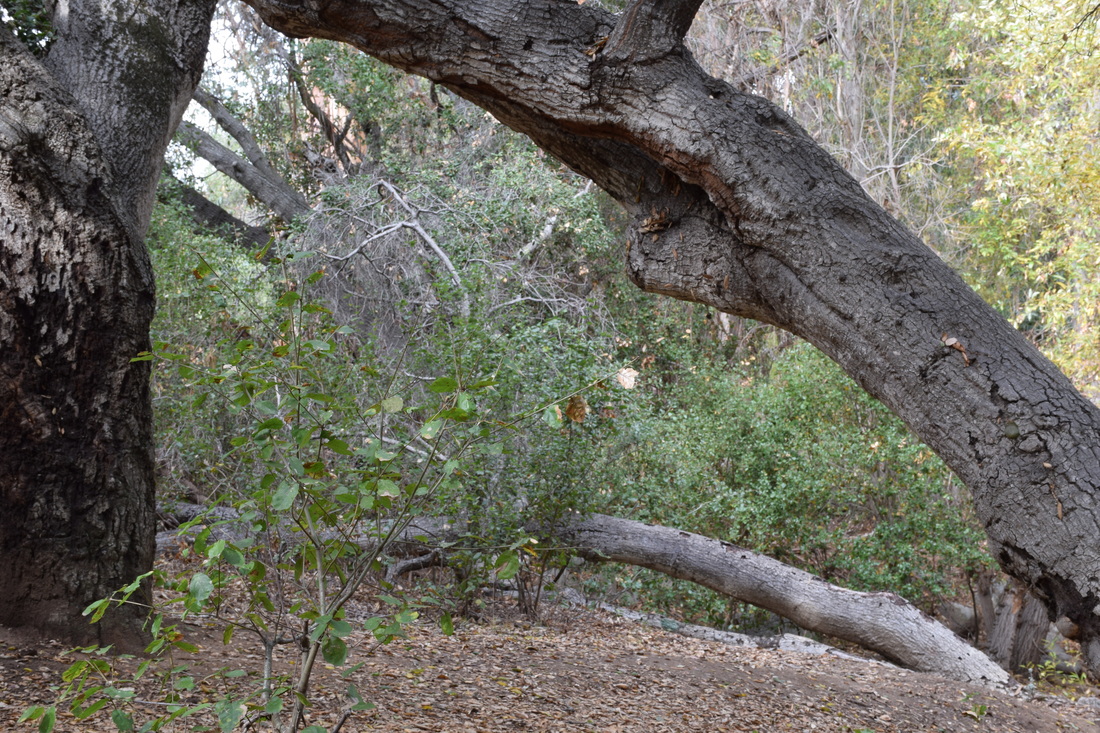
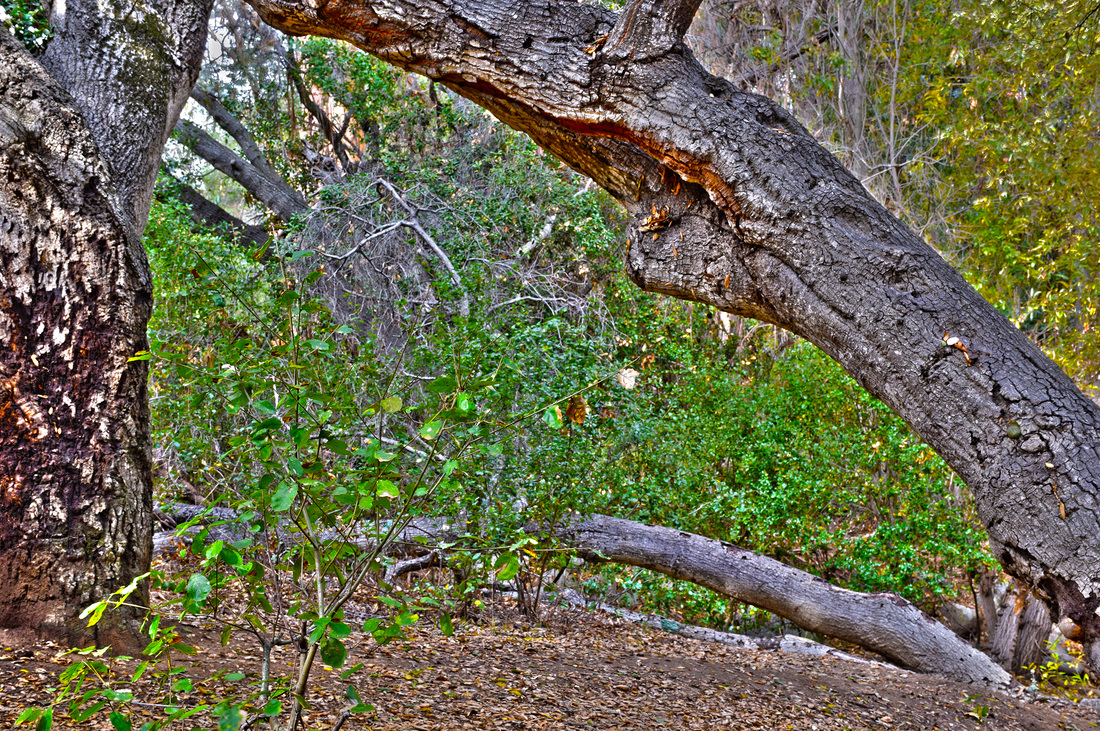
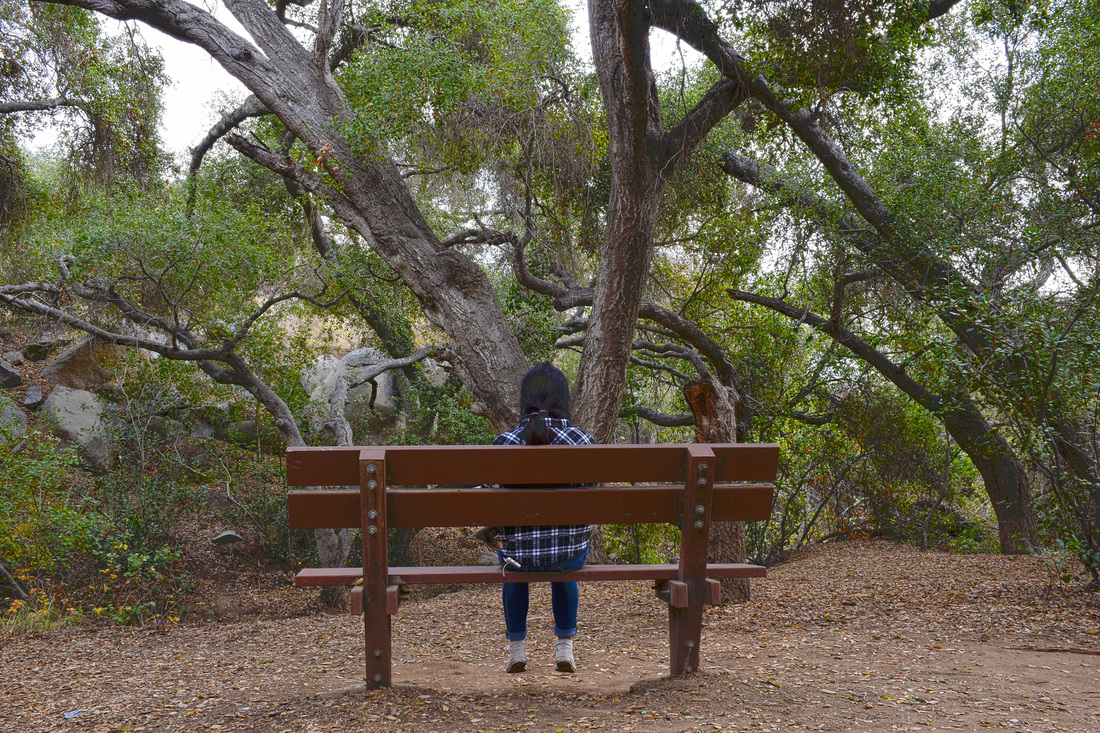
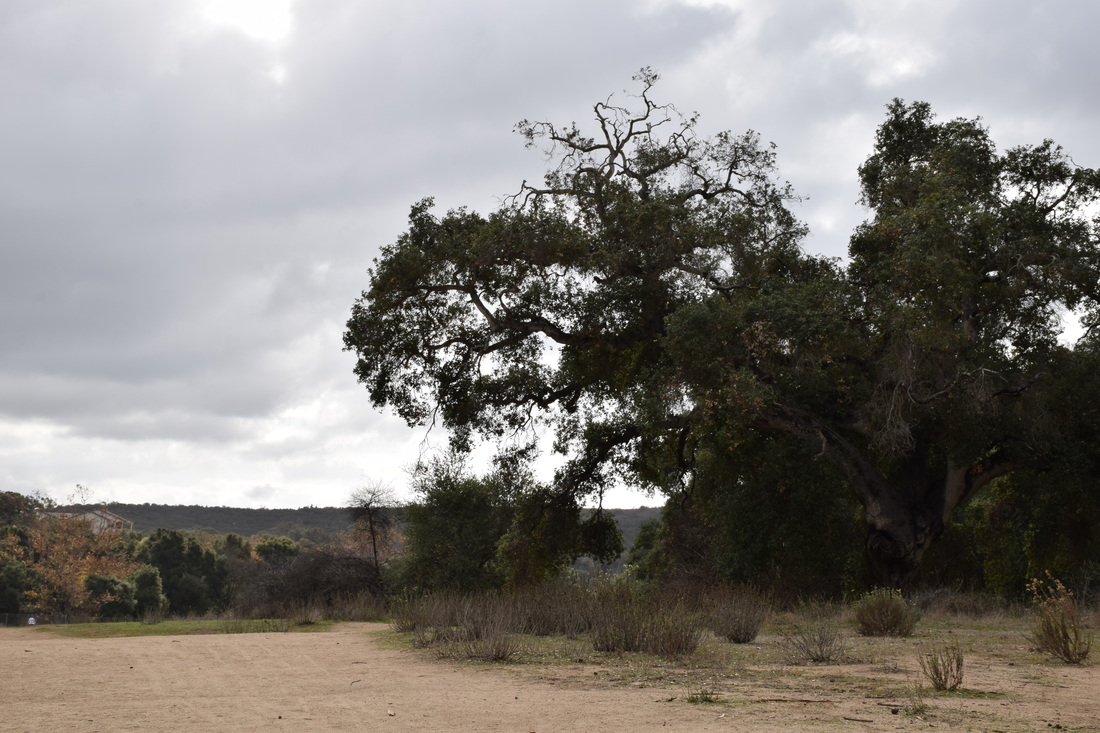
A tessellation is a flat surface tile like picture with an image that has been rotated to create a more geometric look. it is an arrangement of shapes and images that closely fit together and create a repeating pattern. I liked how each picture could be manipulated into some cool and abstract. My favorite image was probably the tree because it looks so beautiful in my opinion. i loved the original photo and then when I transformed it, I loved it even more. Towards the beginning, I struggled with learning which way to flip each image in order to create a pattern. However, after awhile I got the hang of it.
How to create a tessellation: 1. Open up adobe flash and go to file--> new then go to custom: make sure it is 8in by 8in image with 300 resolution. 2. Then go to view--> new guide layout and place the number of rows and columns wanted: use this to ensure that each image is the same size and that the pictures fit perfectly 3. Then go to file --> open and choose a picture to transform. If you are doing a 4x4 tessellation then make sure the image is 2in wide and 2in in height. 4. Crop the image to fit into this size and then go to image--> image size to make sure 5. Then use the rectangle marquis tool to select the whole image and then push command c to copy and paste the picture onto the layout. 6. Then go to layer-- duplicate layer. then use the move tool to drag the duplicated image onto the square next to it. Then go to edit transform, flip vertical or horizontal(depending on the image). Keep doing this until one square is done and a diamond shape appears in the center. Then go to layers--> merge visible and then duplicate. do this until the outline is filled 7. Remove the guidelines in order to ensure there are no lines in the image.
0 Comments
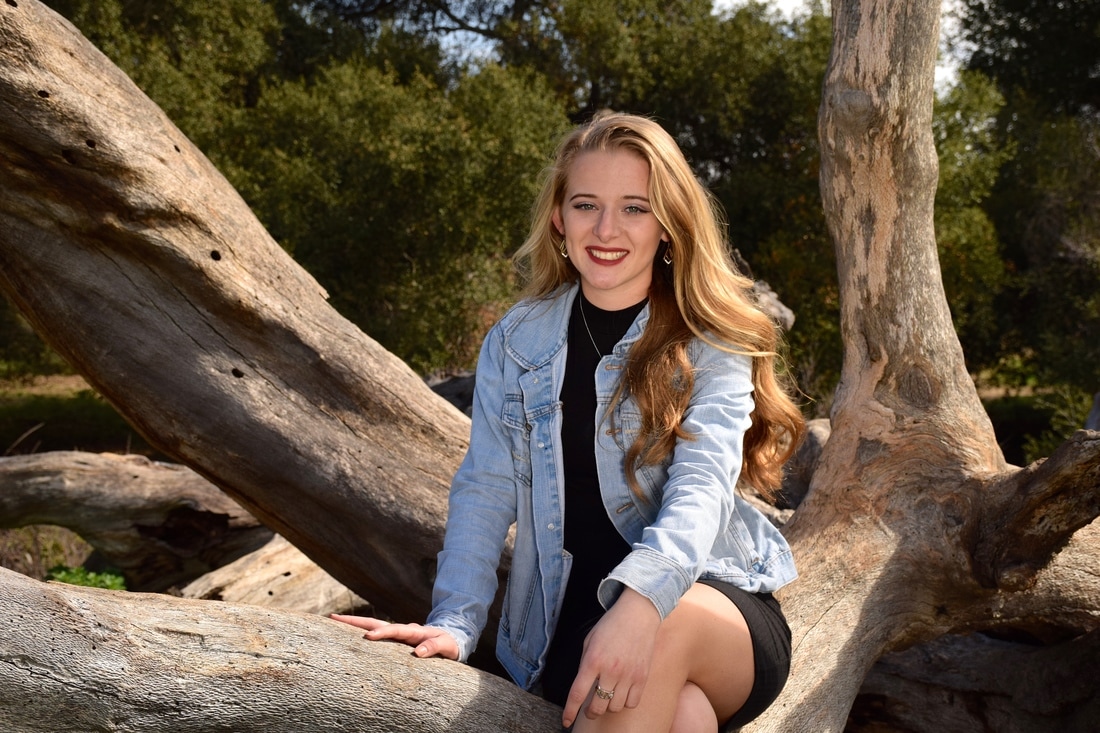 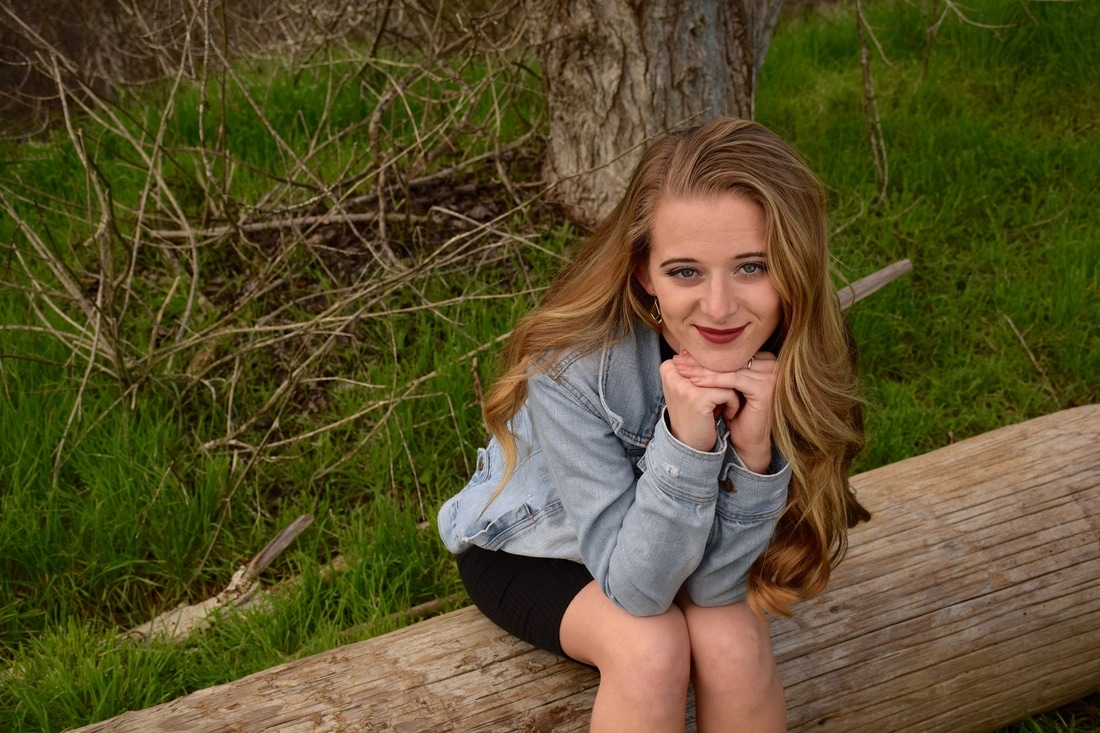 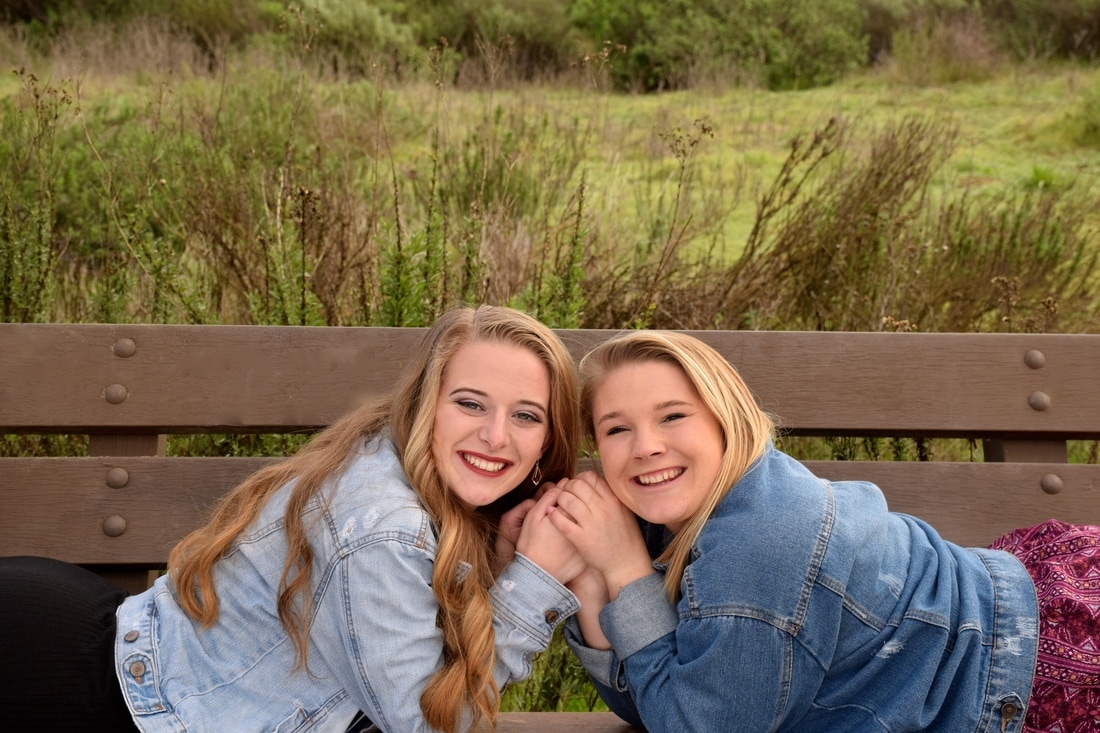 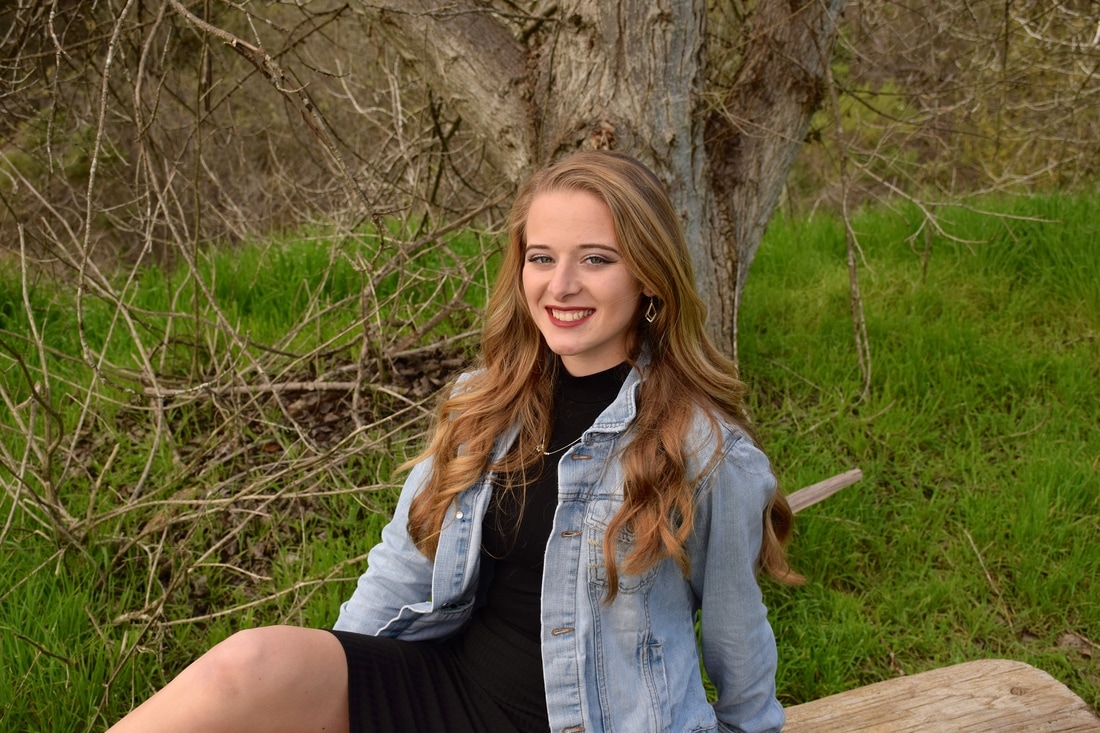 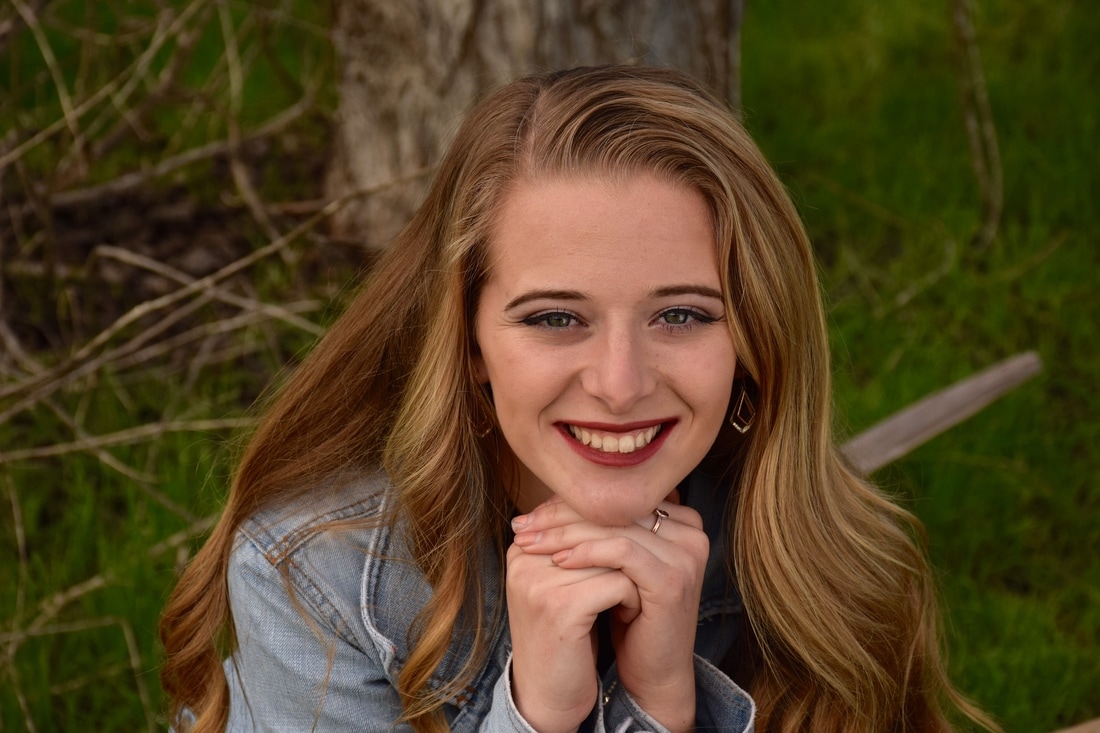 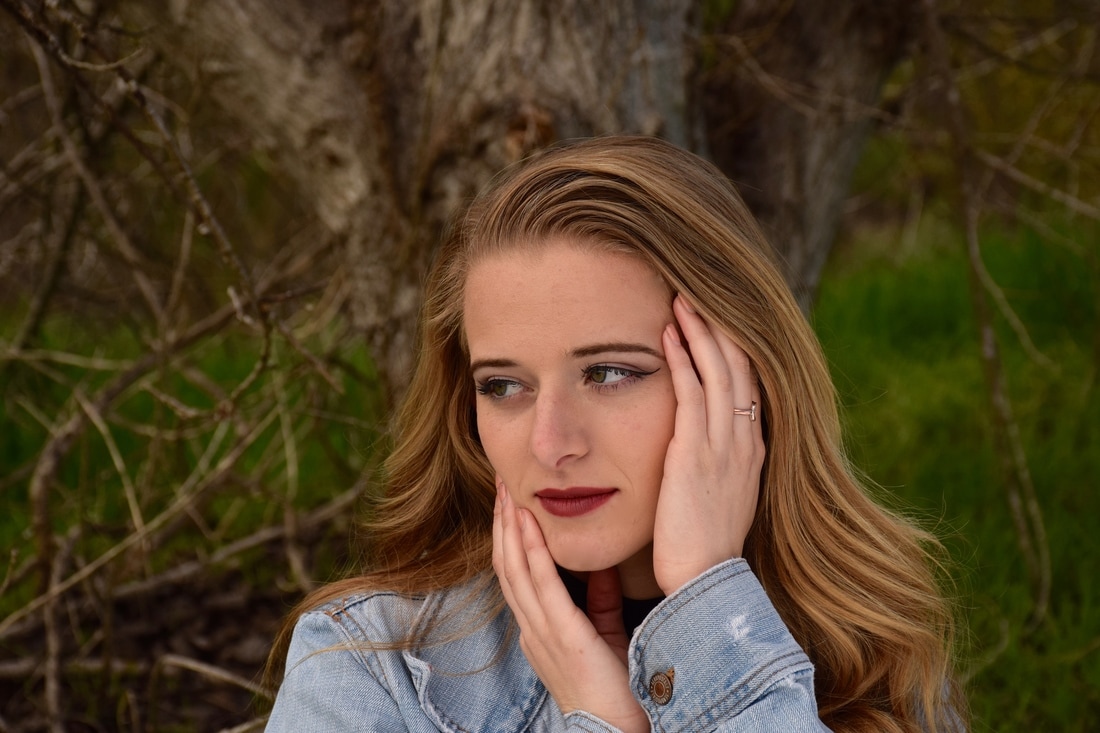 I learned how important lighting is and how important it is to take into consideration the background of a picture. We used a worksheet that helped show us the variety of poses that we could do. it was helpful only to get an idea, not to actually use. We used the reflector only when there was poor lighting or when we tried to persuade a certain mood. It brightened up the model's face and made them look gleamy. In order to retouch the photos, we use photoshop in order to blemish the dark spots on a person's face.
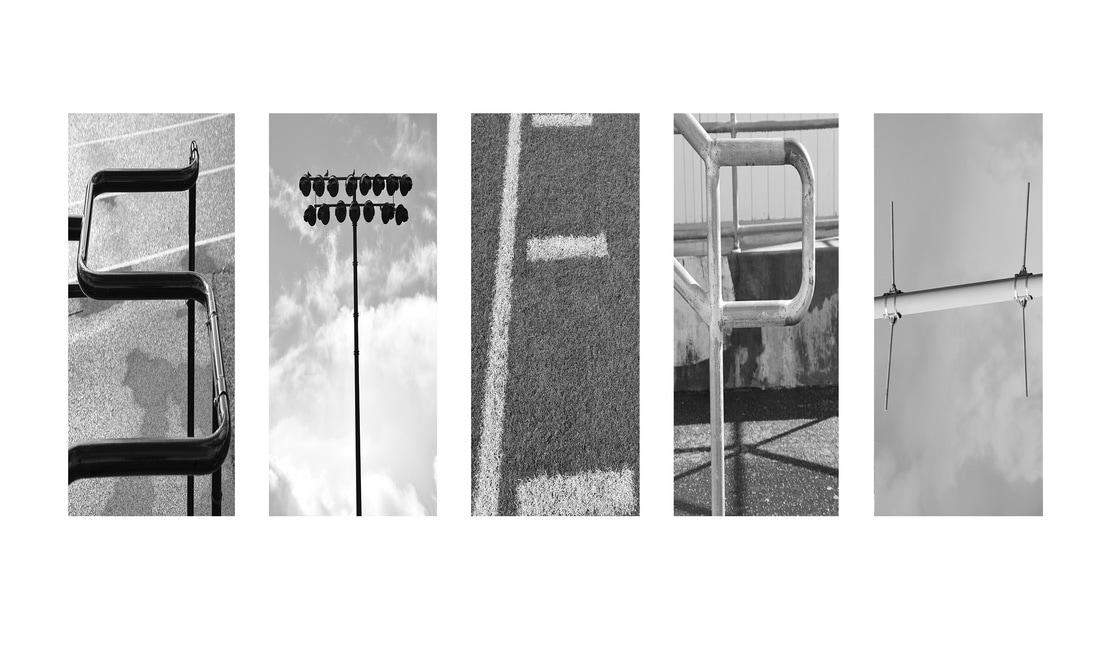 Steps: Edit in Adobe Photoshop
1. First I edited all the pictures in order for them to be black and white 2. Then I set up the 5 letter name template in order for each picture to have an equal size 3. I then use the move tool to place each picture in the template 4. I crop each picture to fit into the template 5. Then save the final product I struggled to get the hang of how to crop and save each picture. But after a couple of tries, I realized what I was doing wrong. I wasn't saving the changes I was making. Therefore, that is why it wouldn't let me move onto the next picture. I was proud of myself once I realized this. I like how I kept an open mind and was able to be creative with the letters of my name. However, I wish I could have improved on the angle and quality of the photo. I rushed to find the letters that I forgot to take a good photograph.  ISO 400, Aperture f/8, Shutter speed 1/125 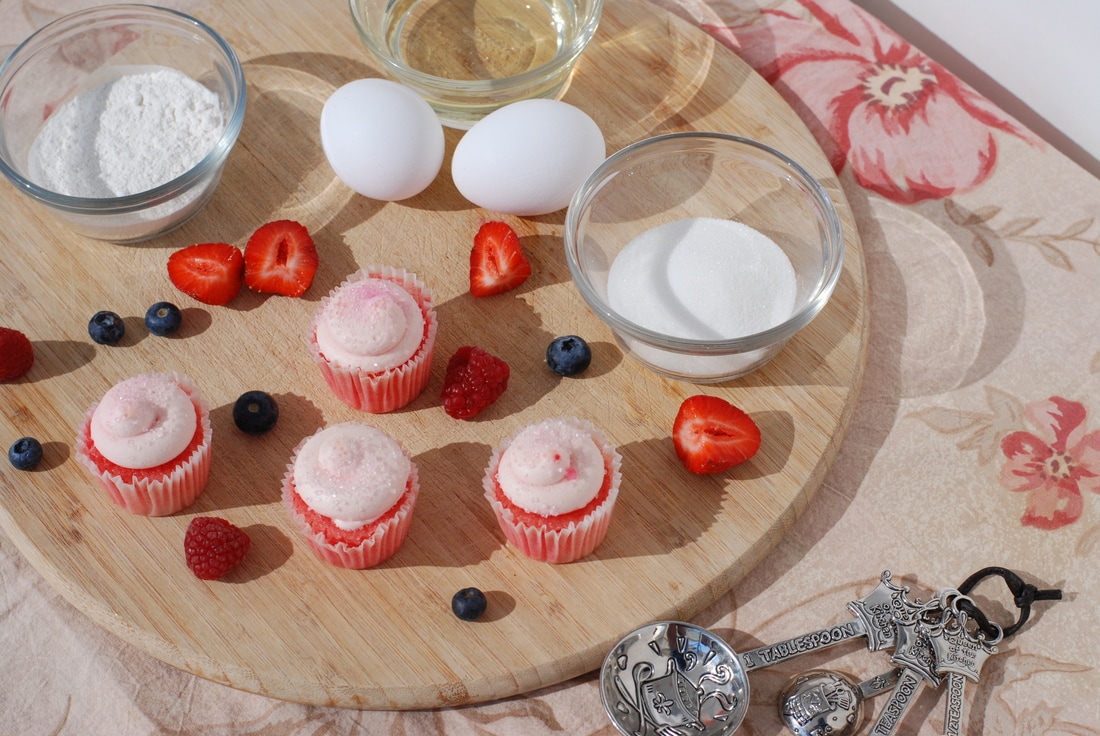 ISO 400, Aperture f/8, Shutter speed 1/500 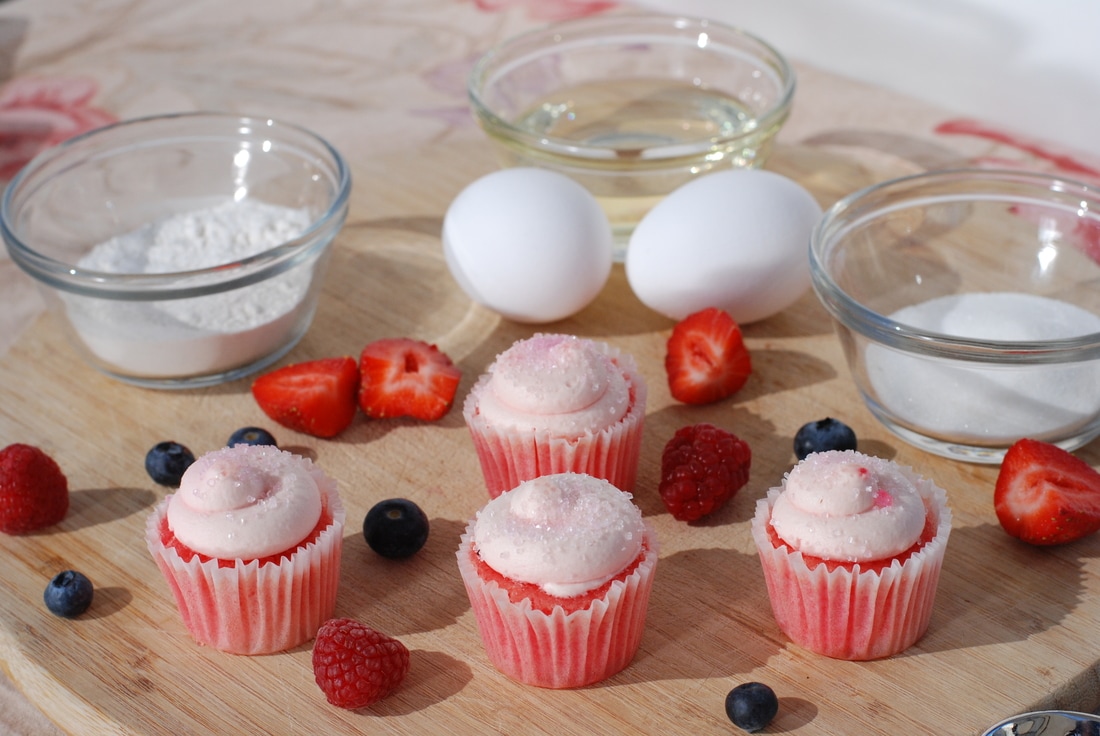 ISO 400, Aperture f/8, Shutter speed 1/640 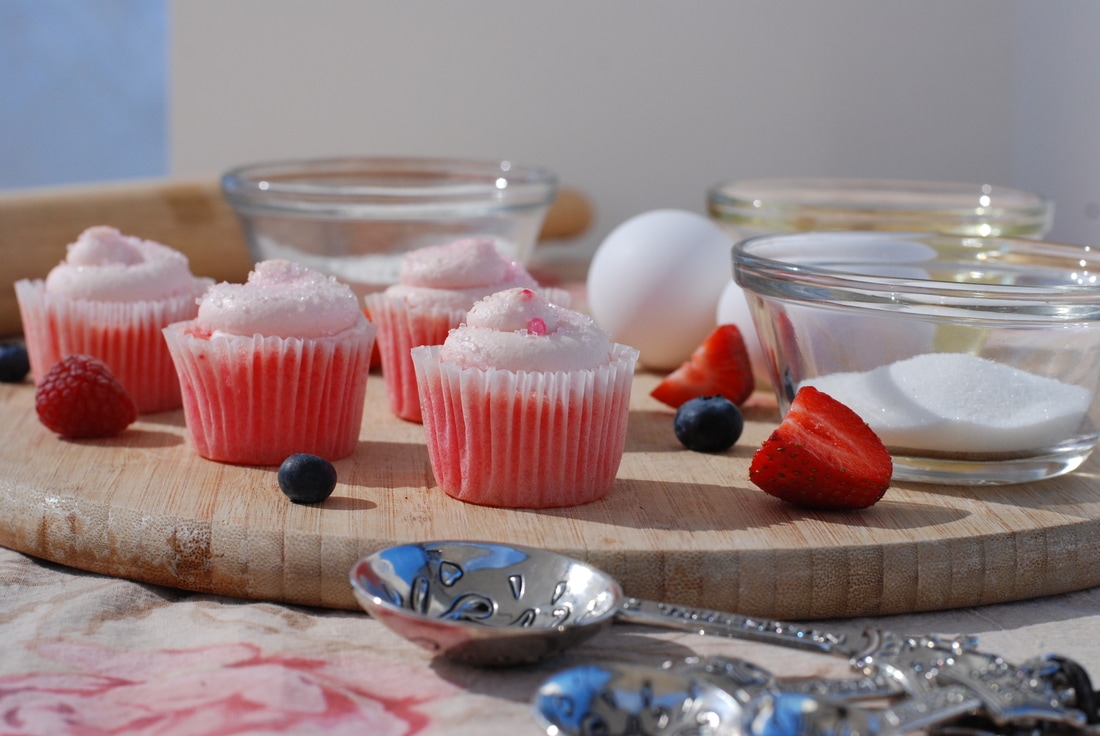 ISO 400, Aperture f/8, Shutter speed 1/500 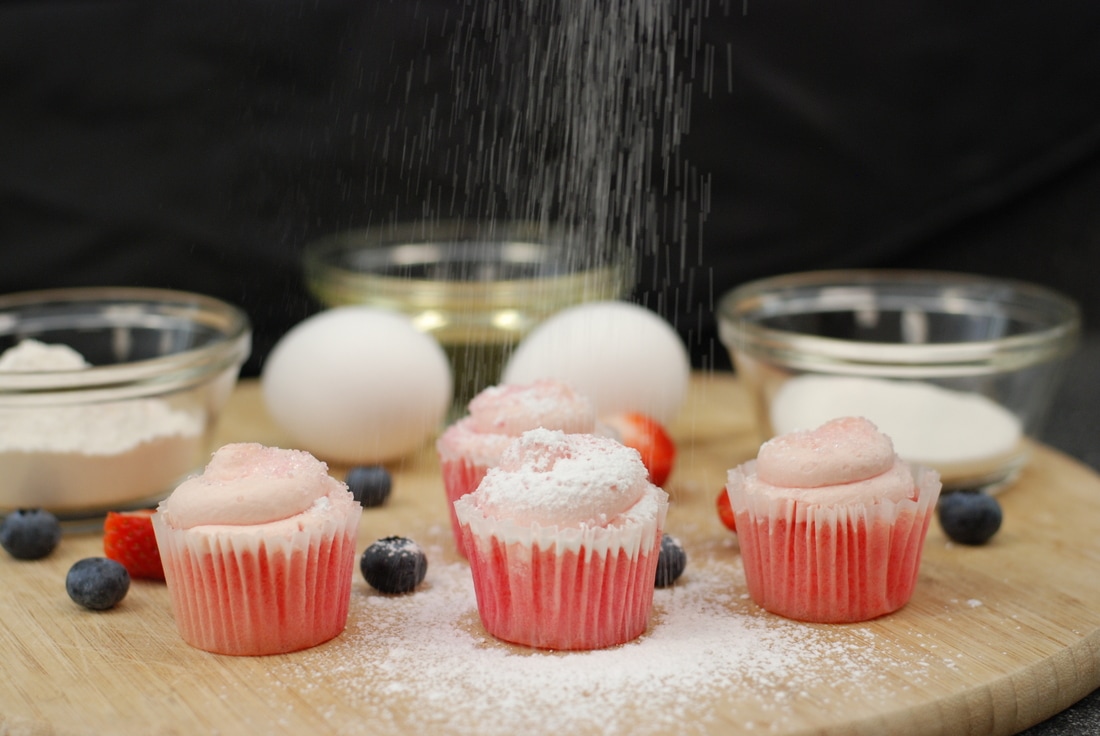 ISO 400, Aperture f/3.2, Shutter speed 1/80 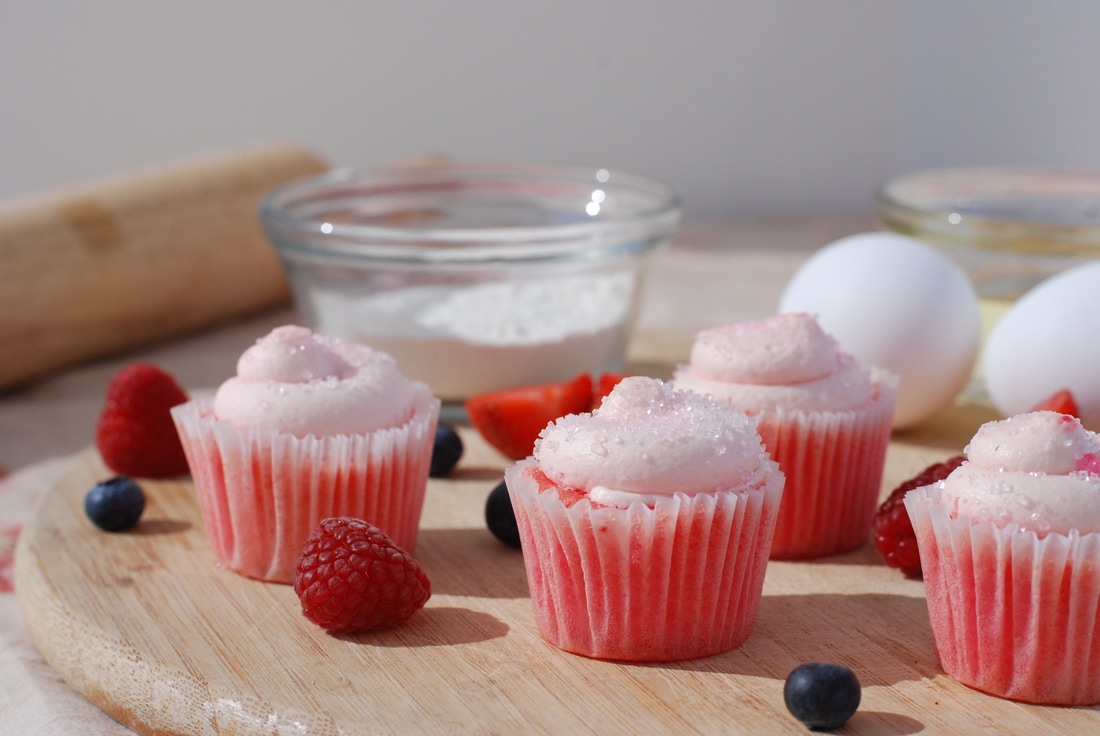 ISO 400, Aperture f/8, Shutter speed 1/500 For this project, I brought cupcakes that I bought from Stater Bros. I brought all the ingredients that are used to make cupcakes in order to show the process of baking them. I used some of the baking ingredients, little bowls, and cooking utensils as props. I also used a table cloth. Based on the video, I learned how important lighting is. Each picture has to have the perfect amount of light in order to make the object stand out. I learned how important it is to position the food and how important it is take into consideration the background due to the fact that most photographers try to incorporate the emotions and savory taste one may experience when eating. The angle is also important because you want to incorporate all the props in order to portray a story. When taking the pictures, I learned how important natural lighting is, how important it was to balance out the props, and how important it was to take the picture at a specific angle in order to minimize shadows. I believed I was very successful in trying to balance out the crops. This is a project that I really enjoyed and would definitely do again because I love food.
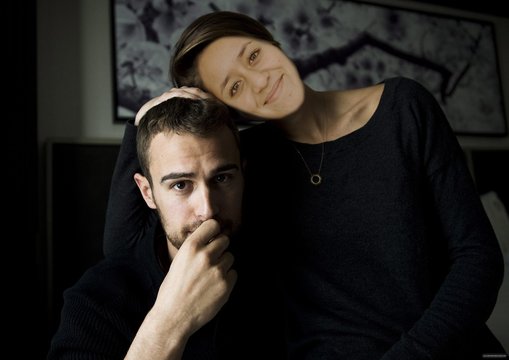 In this image I am Shailene Woodley and I am sitting next to Theo James. The original photo is from a photo shoot they were in. I choose this picture because I think Theo James is n amazing and very attractive actor.  In ten years, I picture myself finishing med school. I will have gained various skills and techniques that will help me be an efficient doctor. At this time in my life, I will probably be interning at a hospital. I hope to become a pediatrician or a surgeon. Photoshop steps:
1. First choose both pictures 2. Drag the picture being used to the one you want to implement it on 3. Then lasso the face,person, object,etc and drag it on to the original picture 4. Then merge the two pictures and create a layer mask 5. Then use the paintbrush to accommodate the original picture  Aperture f/8, Shutter Speed 1/1,250, ISO 400  Aperture f/8, Shutter Speed 1/1,250, ISO 400  Aperture f/8, Shutter Speed 1/1,250, ISO 400 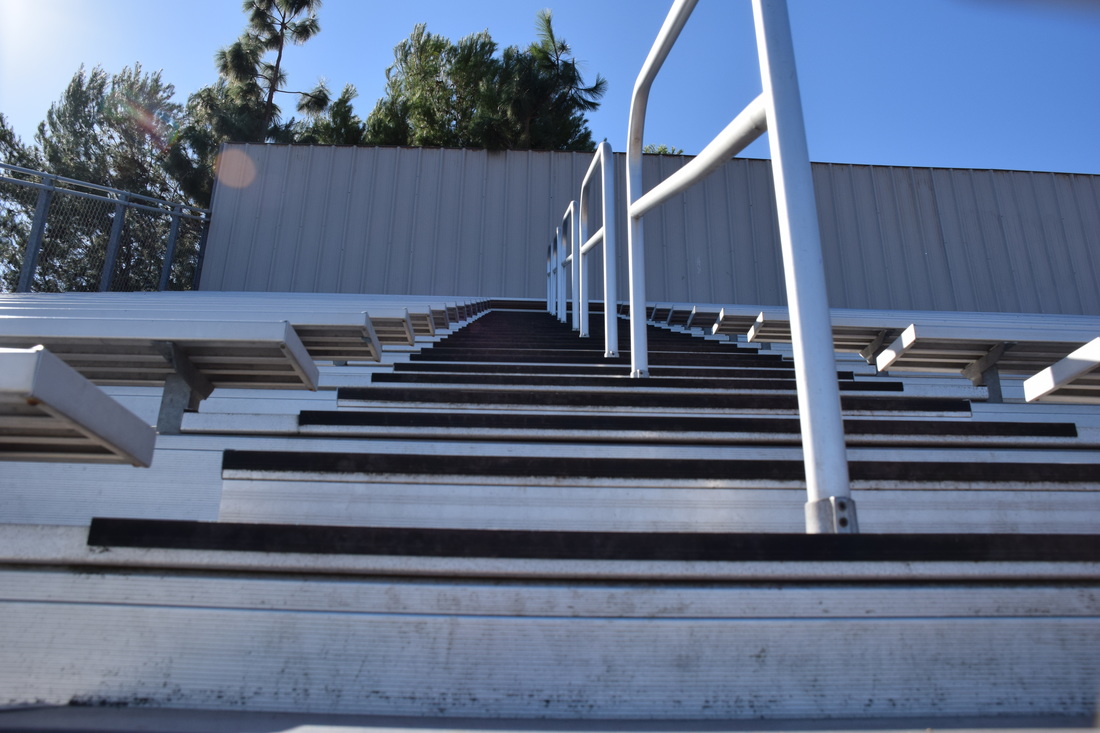 Aperture f/8, Shutter Speed 1/1,250, ISO 400 Line This is a photo of the bleachers on the stadium field. This photograph represents the element of line. The staircase is going up and directs the viewers eyes towards this direction. 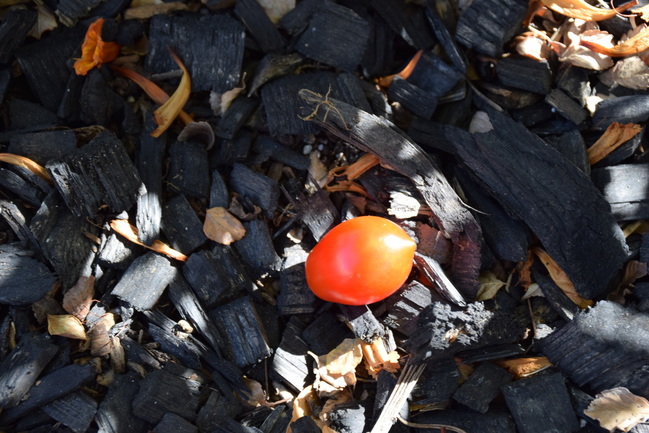 Aperture f/8, Shutter Speed 1/125, ISO 400 Color This is a photo of a tomato that I found in our school garden. This photograph represents the element of color due to the fact the tomato stands out. The focus of the picture is asserted to the bright red tomato in which the black wood chips and brown leaves allow its color to pop. 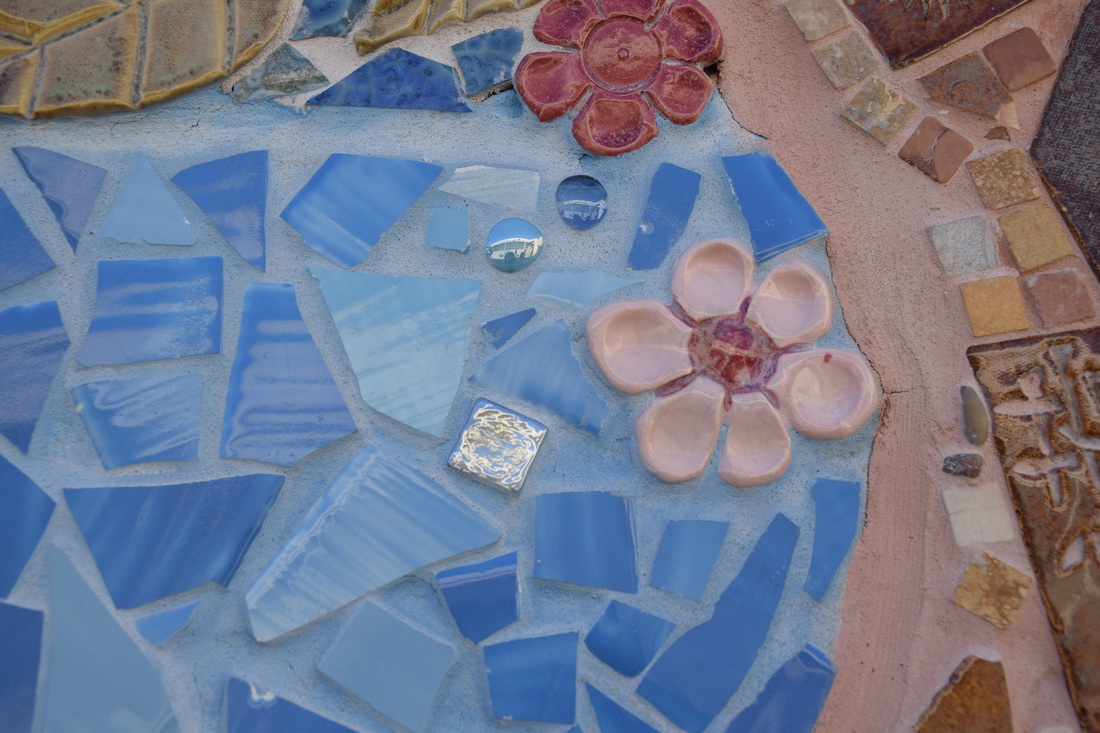 Aperture f/8, Shutter Speed 1/500, ISO 400 Shape This is a photograph of a mural by the 200's bathroom. This portrays the element of shape because you can see how the various shapes work together to form one picture. This is successful because we see the various shapes becoming one. 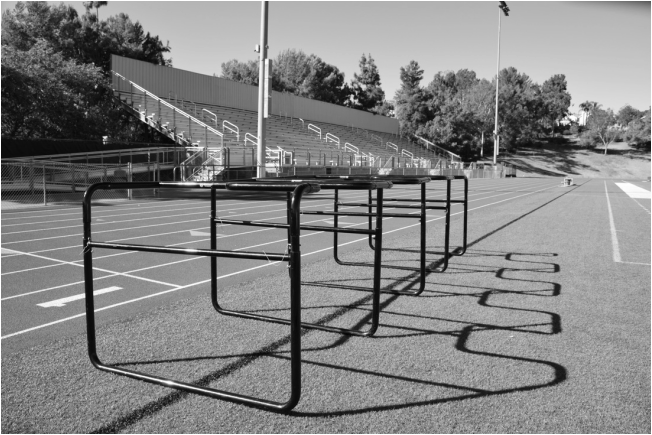 Aperture f/8, Shutter Speed 1/640, ISO 400 Form This is a picture of some random black thingy on the stadium. This represents the element of form because the viewers can see the three dimensional shape of the black thingy. This is successful because of the emphasis of the 3D shape through the use the bar being highlighted by the sunlight and the shadow of the object being seen on the field. 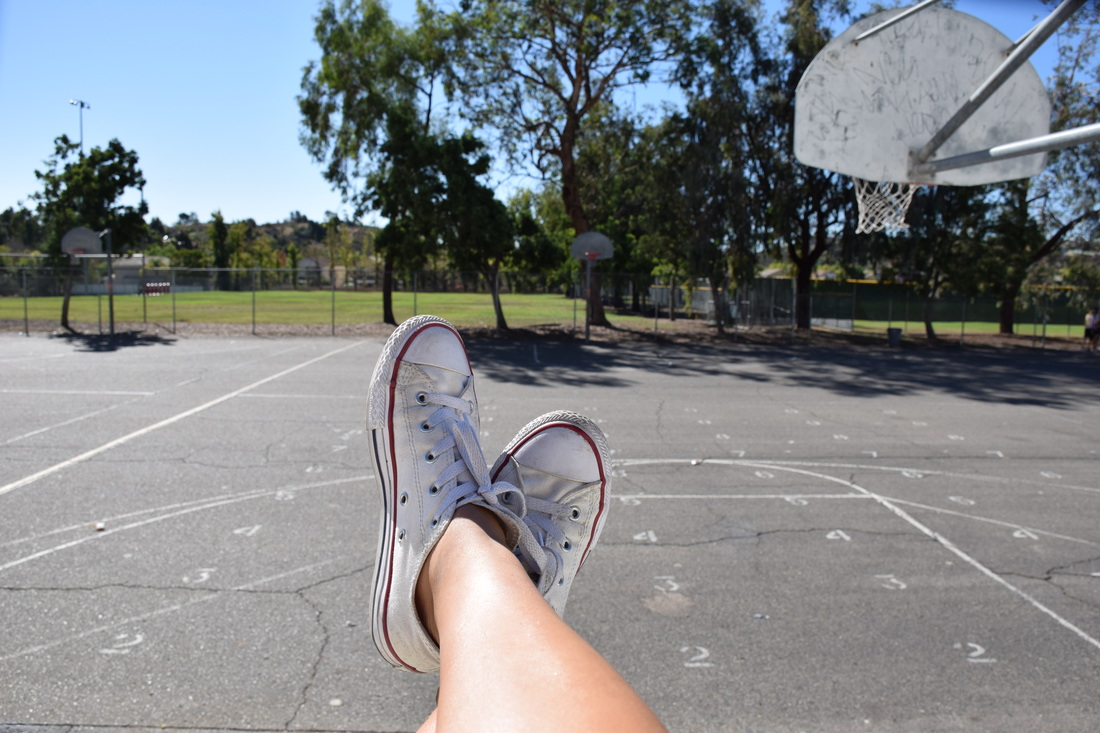 Aperture f/8, Shutter Speed 1/1,250, ISO 400 Space This is a picture of my feet as I sit on the railing. This picture represents the element of space because the primary space is my feet and the secondary space is the space around it. This is Successful because it portrays the emphasis of the primary space. 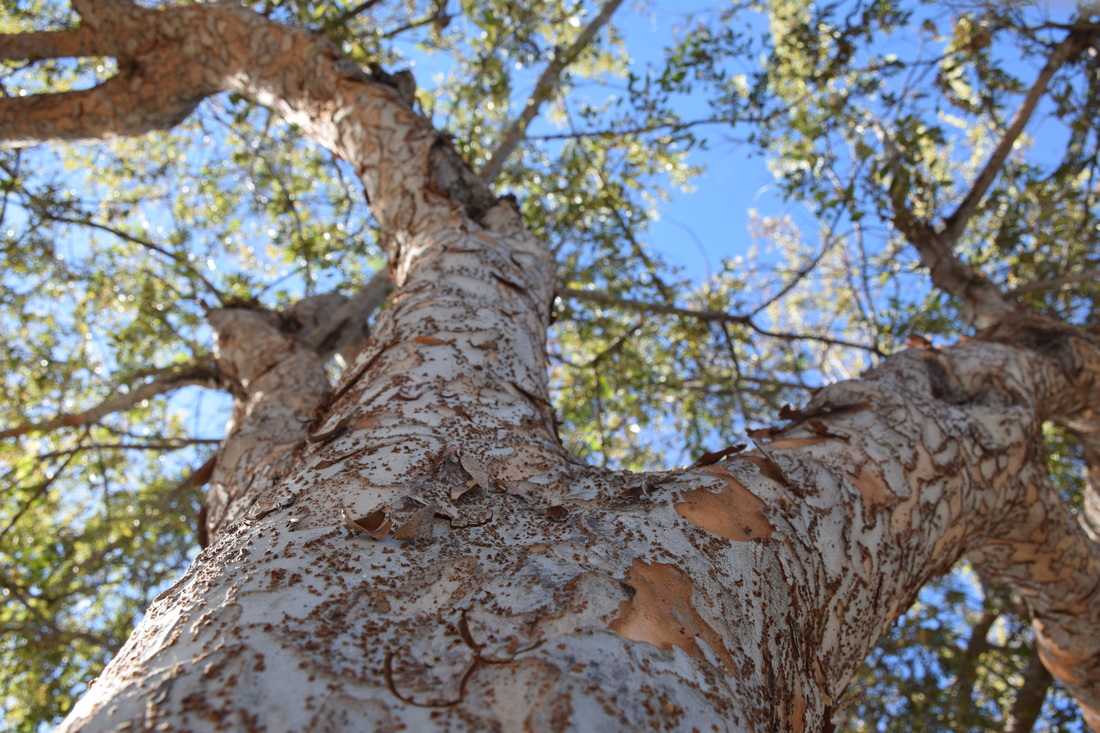 Aperture f/8, Shutter Speed 1/320, ISO 400 Texture This is a picture of a tree that is located in the big hallway. This picture represents texture because it gives you a visual sense of how the tree would feel. The particular angle I took this picture in really helps emphasize the texture. 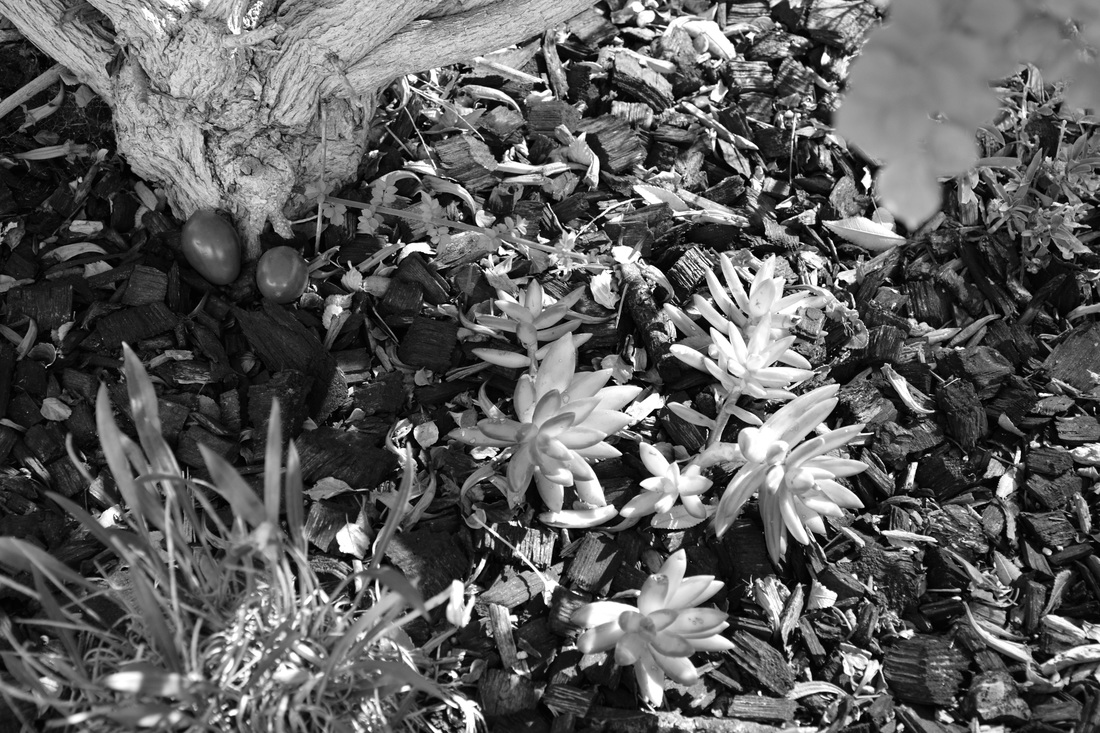 Aperture f/8, Shutter Speed, 1/160, ISO 400 Value
This is a picture I took of the garden by the weight room. This picture represents the contrast in the darkness of the wood chips compared to the lightness of the succulents. This is successful because the the contrast in shading or brightness helps emphasize the succulents beauty. |
AuthorWrite something about yourself. No need to be fancy, just an overview. Archives
May 2017
Categories |


 RSS Feed
