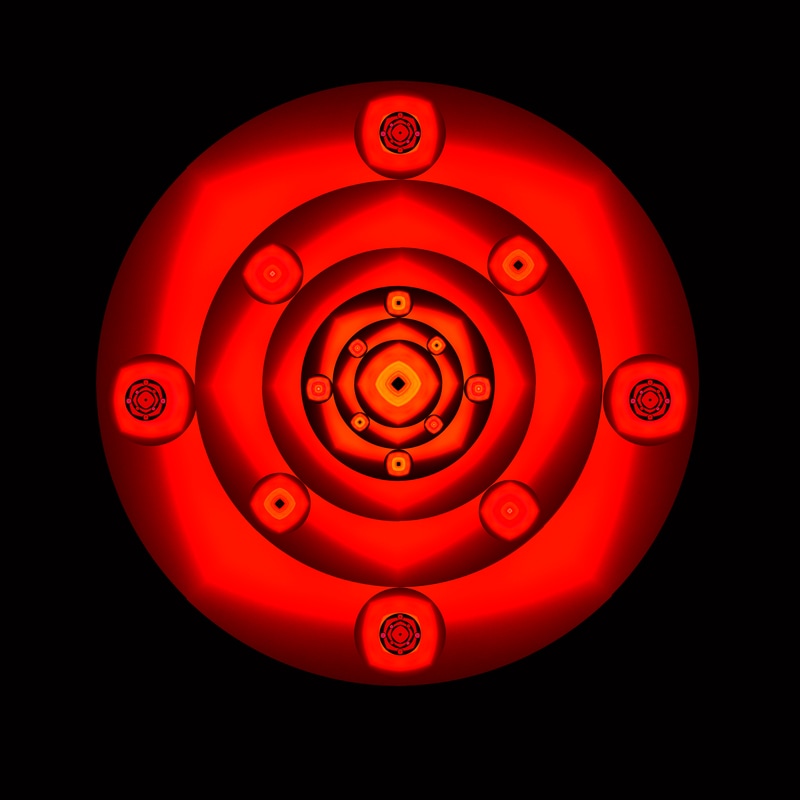
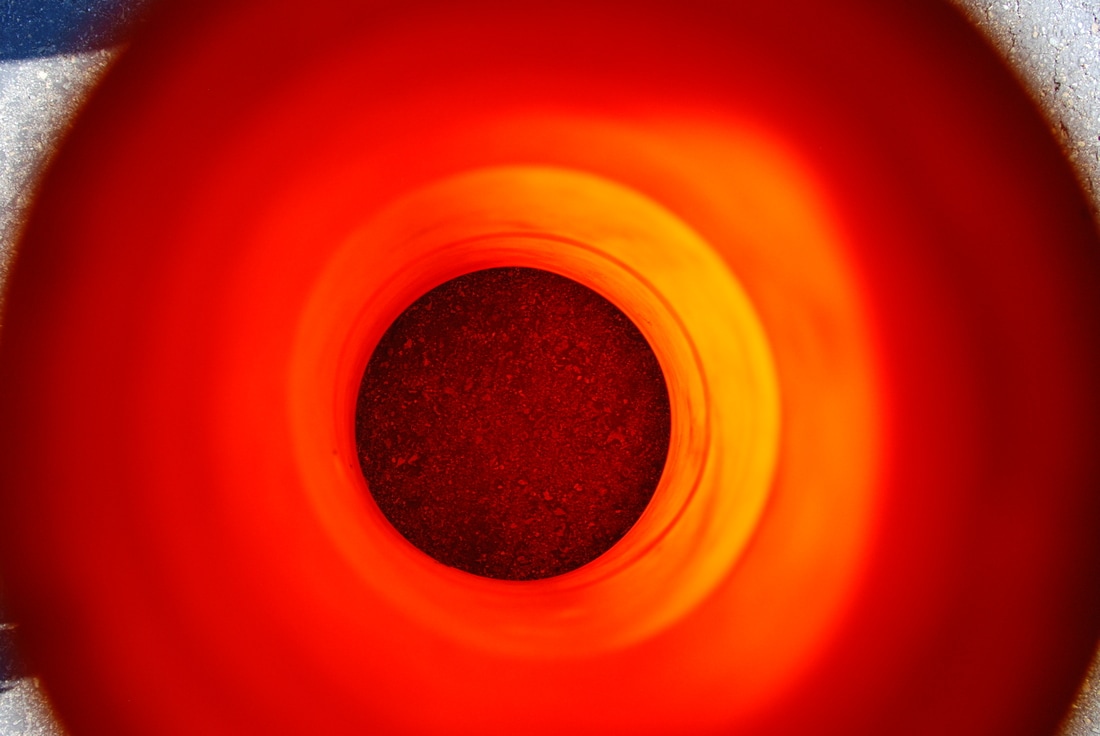
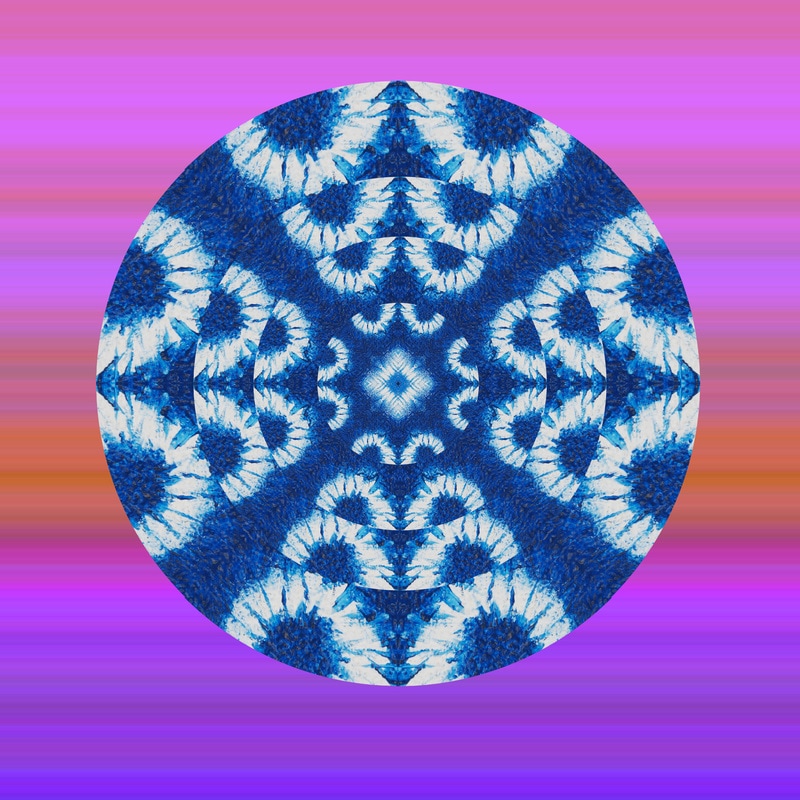
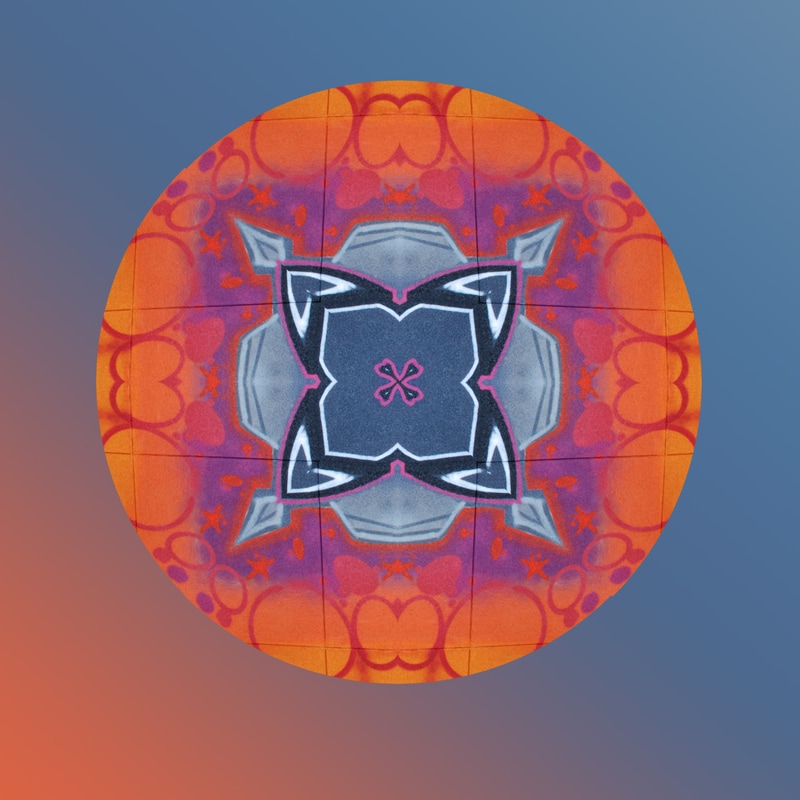
A Mandala is a picture used and transformed into a circular shape. I liked how something so simple can be transformed into a beautiful picture. It's like creating art through a picture. I struggled to transform the original picture; however, it became easy once I got the hang of it. This was a project that I really enjoyed; therefore, if I choose to do this again I wouldn't do it differently.
How to create a Mandala: 1. Open up adobe flash and go to file--> open and use a mandala template in order to ensure all the pictures are lined up perfectly 2. Then click on the magic wand tool in order to choose a triangle from the mandala 3. Then go to file --> open and choose a picture to use 4. Then drag the triangle onto the picture you want to use and place it on the area you want 5. Then copy and paste(command c) on the triangle and drag onto the template 6. Then go to layer-- duplicate layer. then use the move tool to drag the duplicated image onto the triangle next to it. Then go to edit transform, flip horizontal and/or rotate it. Keep doing this until the whole circle is filled. 7. Remove the template in order to ensure there are no lines on the background.
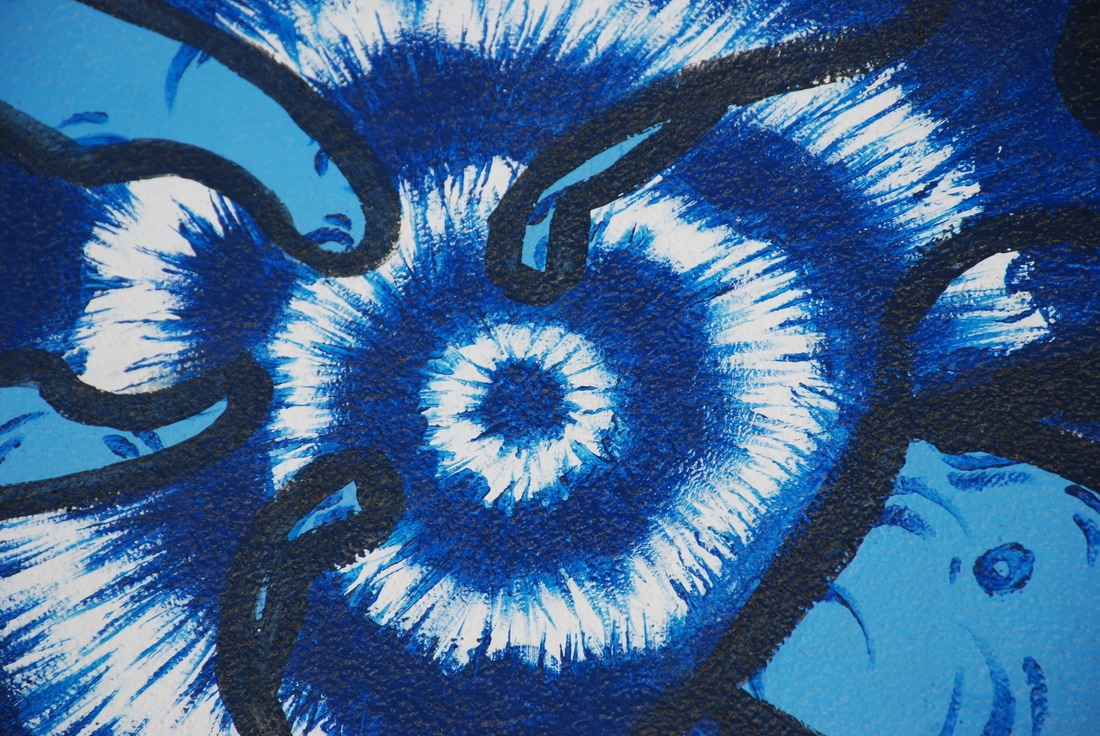
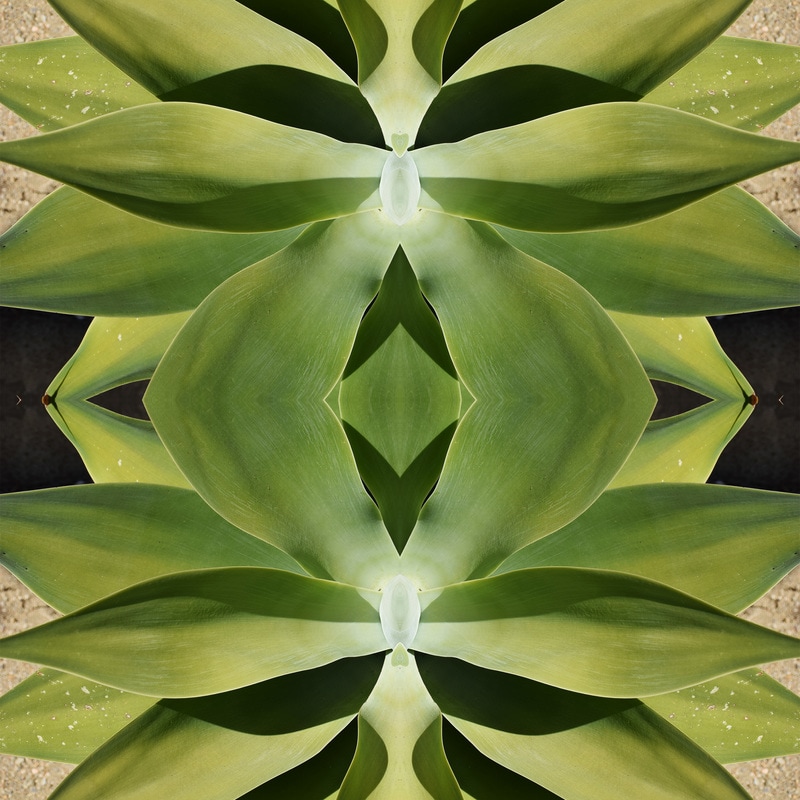
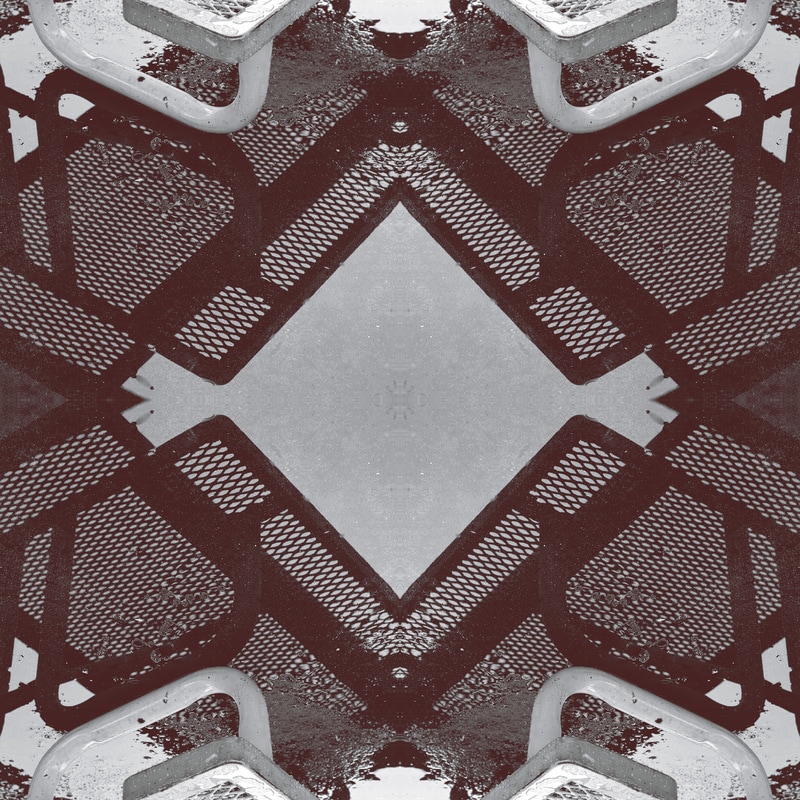
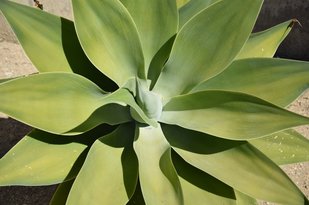
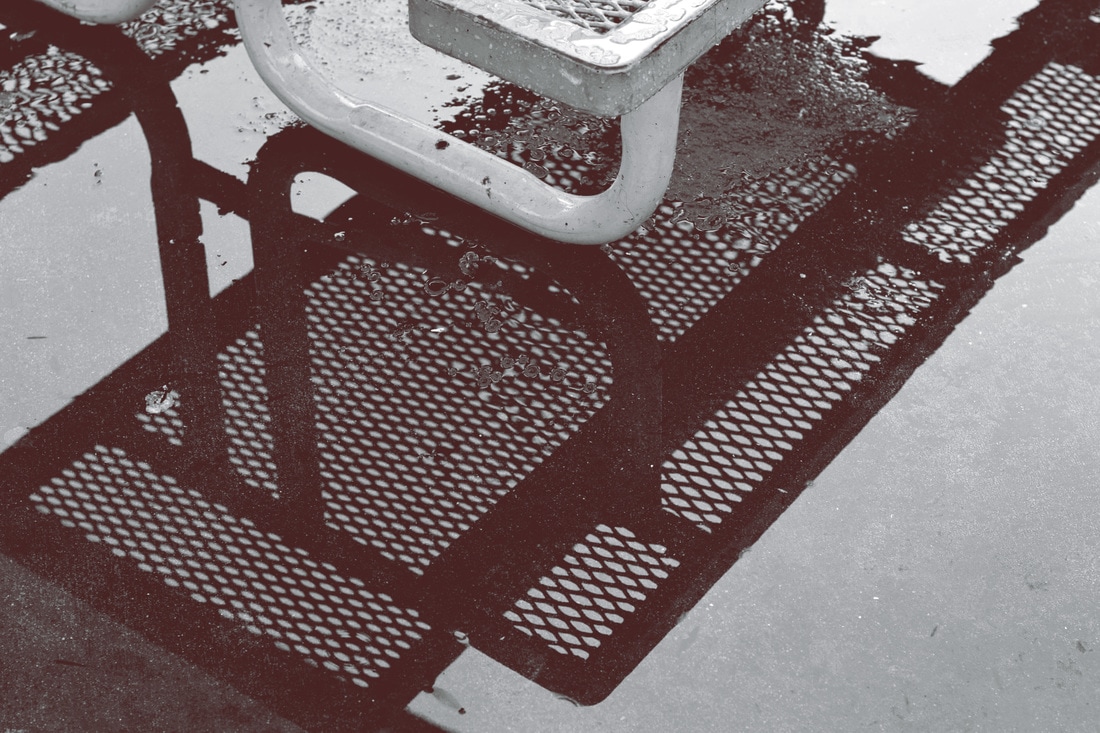
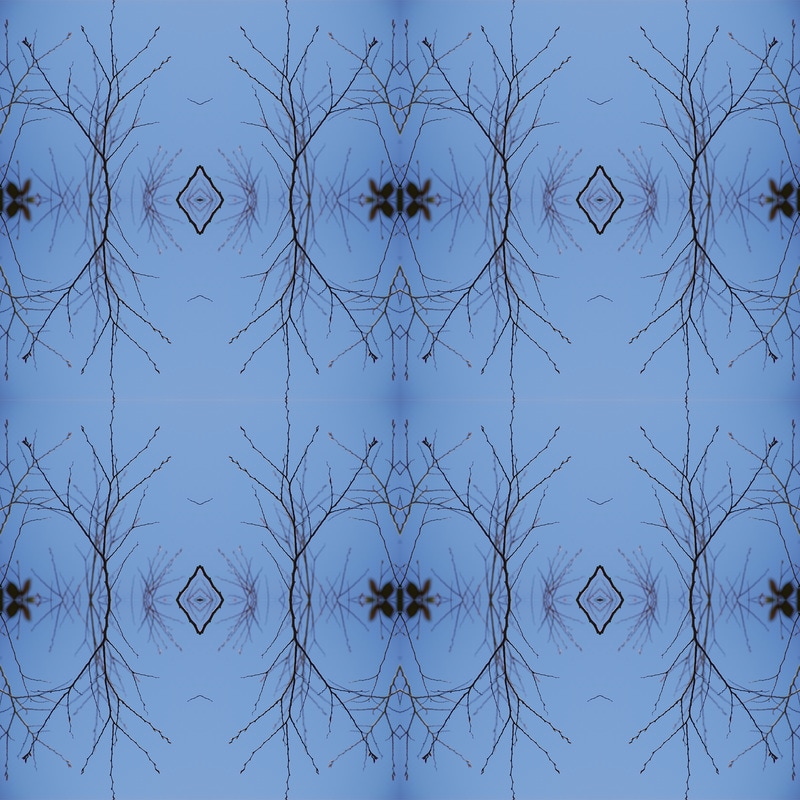
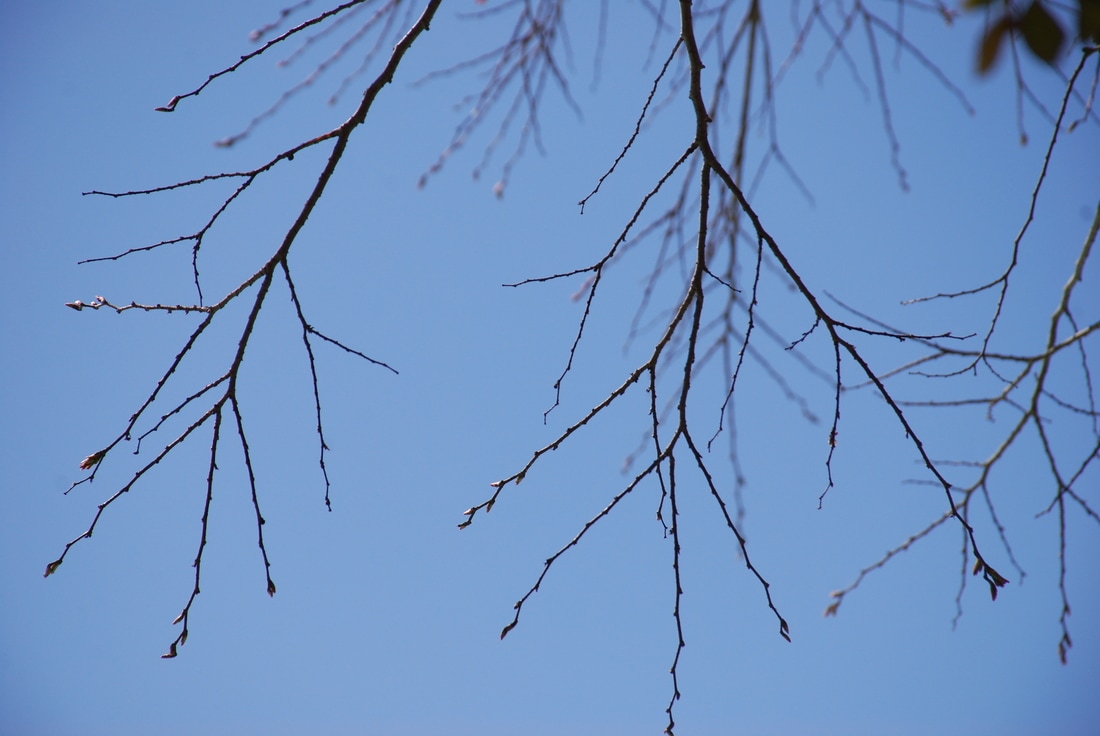
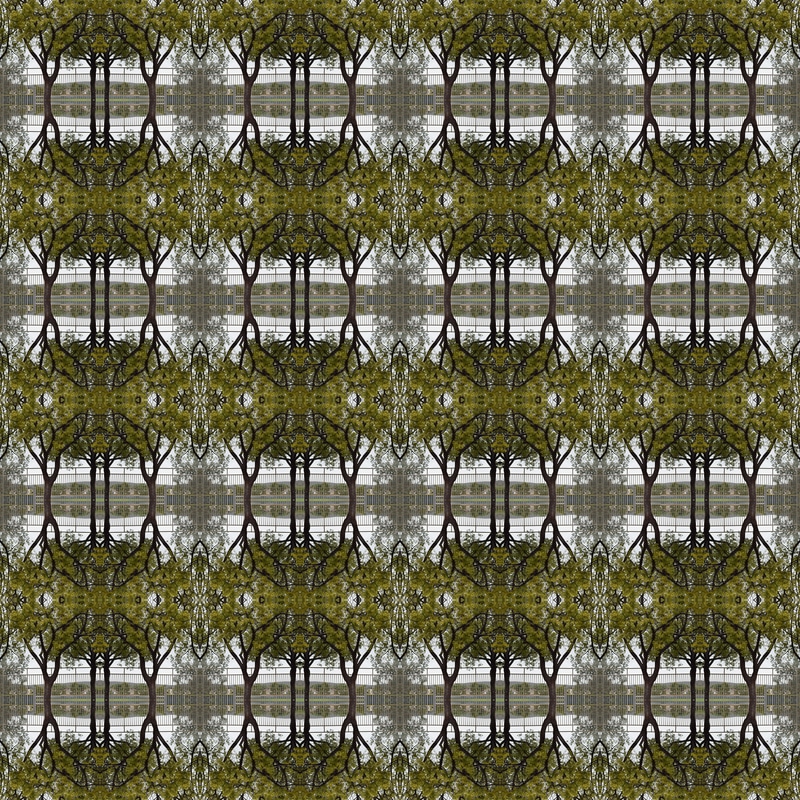
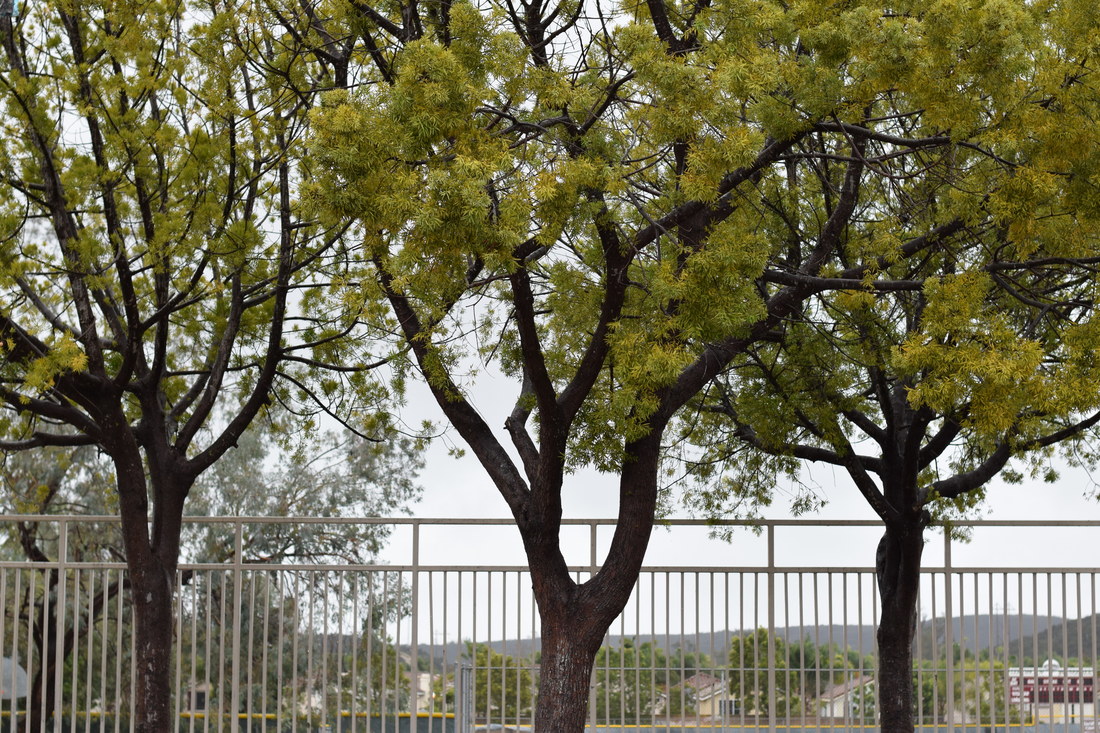
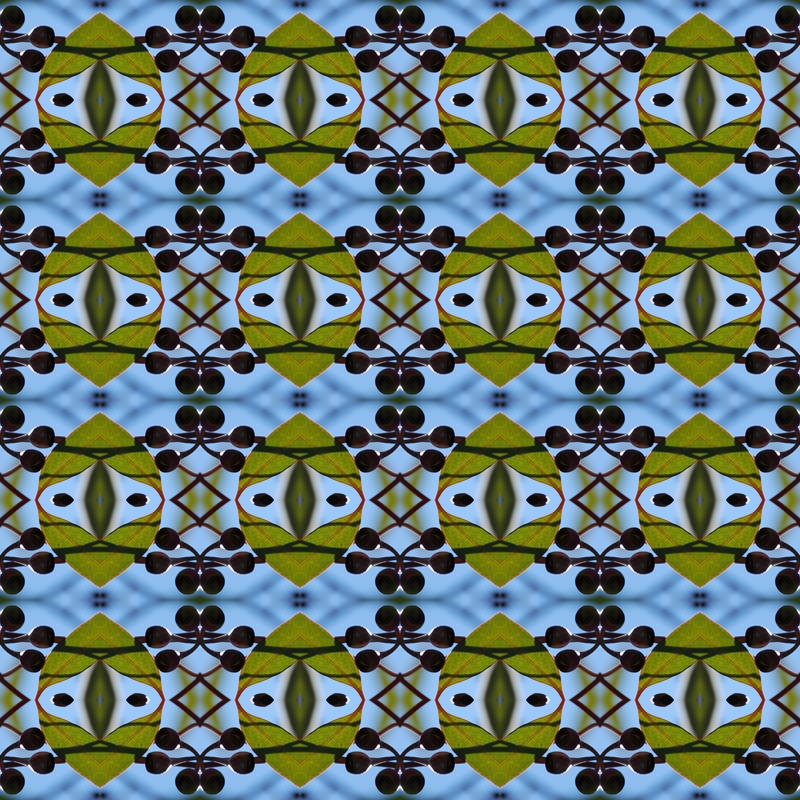
A tessellation is a flat surface tile like picture with an image that has been rotated to create a more geometric look. it is an arrangement of shapes and images that closely fit together and create a repeating pattern. I liked how each picture could be manipulated into some cool and abstract. My favorite image was probably the tree because it looks so beautiful in my opinion. i loved the original photo and then when I transformed it, I loved it even more. Towards the beginning, I struggled with learning which way to flip each image in order to create a pattern. However, after awhile I got the hang of it.
How to create a tessellation: 1. Open up adobe flash and go to file--> new then go to custom: make sure it is 8in by 8in image with 300 resolution. 2. Then go to view--> new guide layout and place the number of rows and columns wanted: use this to ensure that each image is the same size and that the pictures fit perfectly 3. Then go to file --> open and choose a picture to transform. If you are doing a 4x4 tessellation then make sure the image is 2in wide and 2in in height. 4. Crop the image to fit into this size and then go to image--> image size to make sure 5. Then use the rectangle marquis tool to select the whole image and then push command c to copy and paste the picture onto the layout. 6. Then go to layer-- duplicate layer. then use the move tool to drag the duplicated image onto the square next to it. Then go to edit transform, flip vertical or horizontal(depending on the image). Keep doing this until one square is done and a diamond shape appears in the center. Then go to layers--> merge visible and then duplicate. do this until the outline is filled 7. Remove the guidelines in order to ensure there are no lines in the image. |
AuthorWrite something about yourself. No need to be fancy, just an overview. Archives
May 2017
Categories |


 RSS Feed
